 |
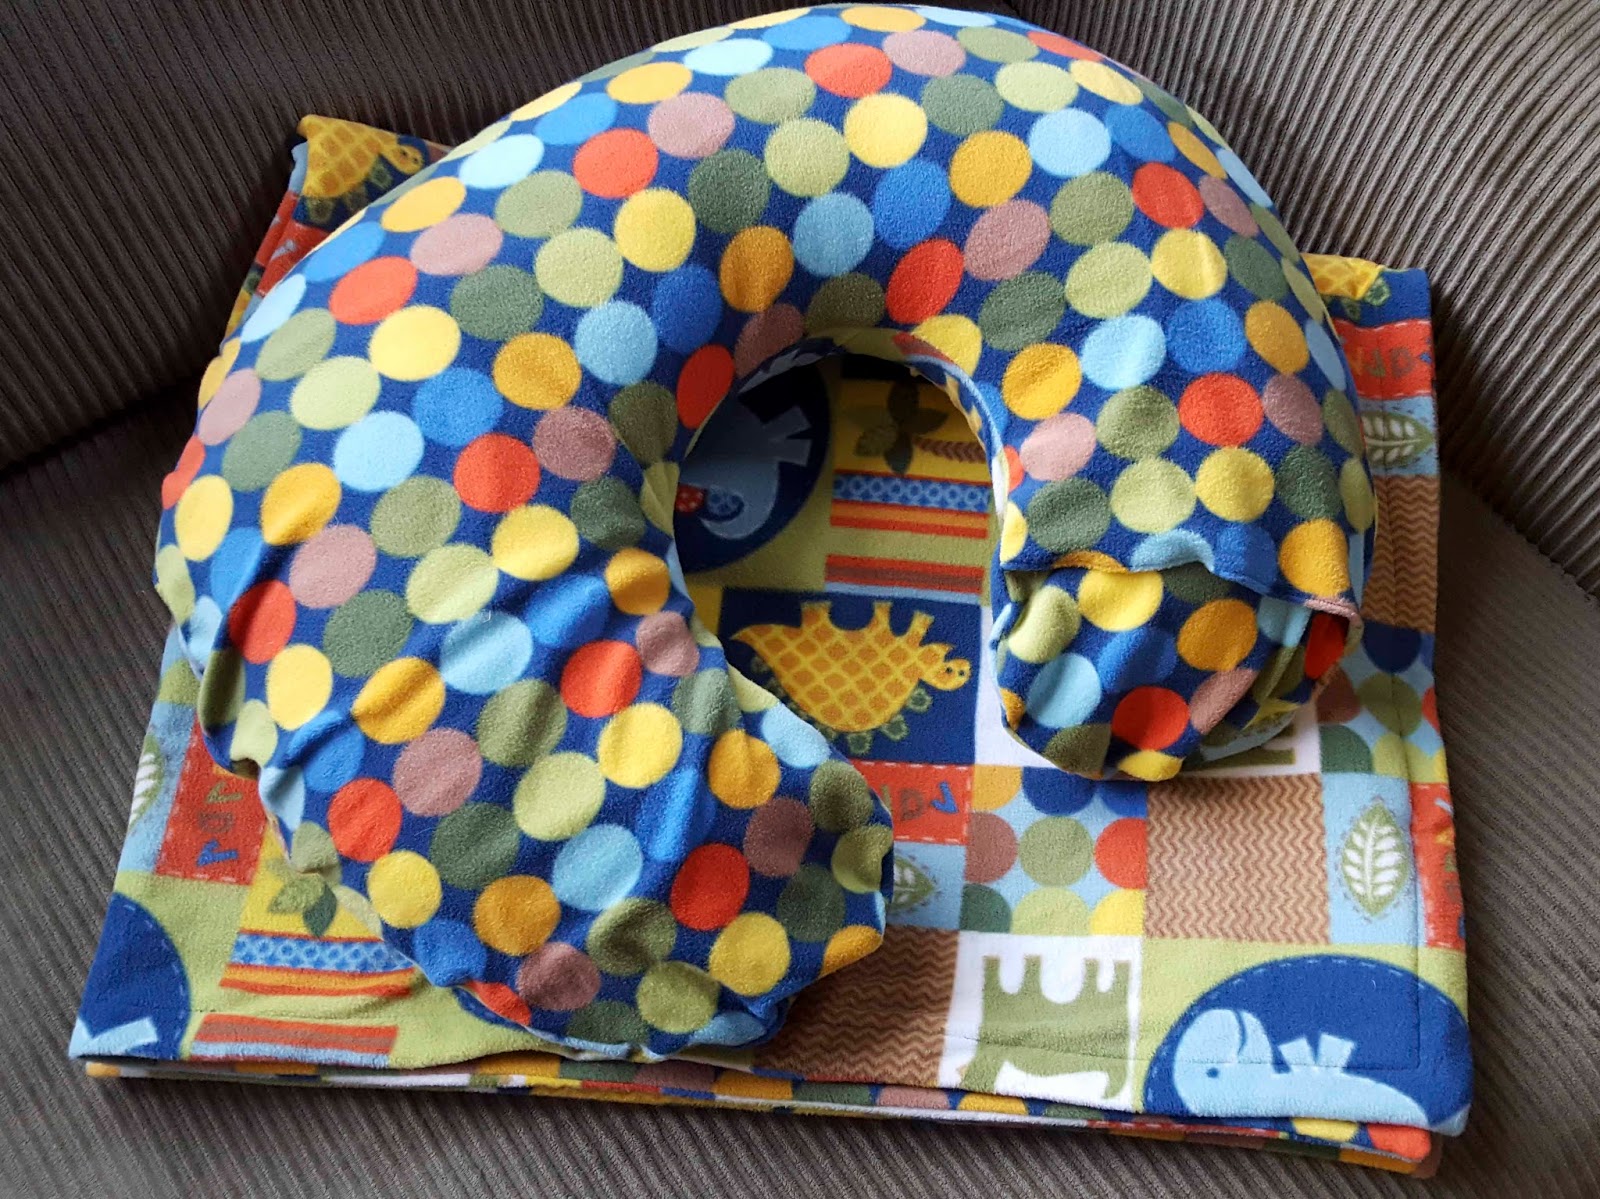
| The finished fleece boppy cover I made. |
I have two different kinds of boppy covers in my personal collection. The first are the Boppy Brand zipper covers that have an inset piece on the center of the U shape. The second is a flat boppy cover that I ordered from Etsy when pregnant with Lucky and has an overlapped pocket to insert the pillow.
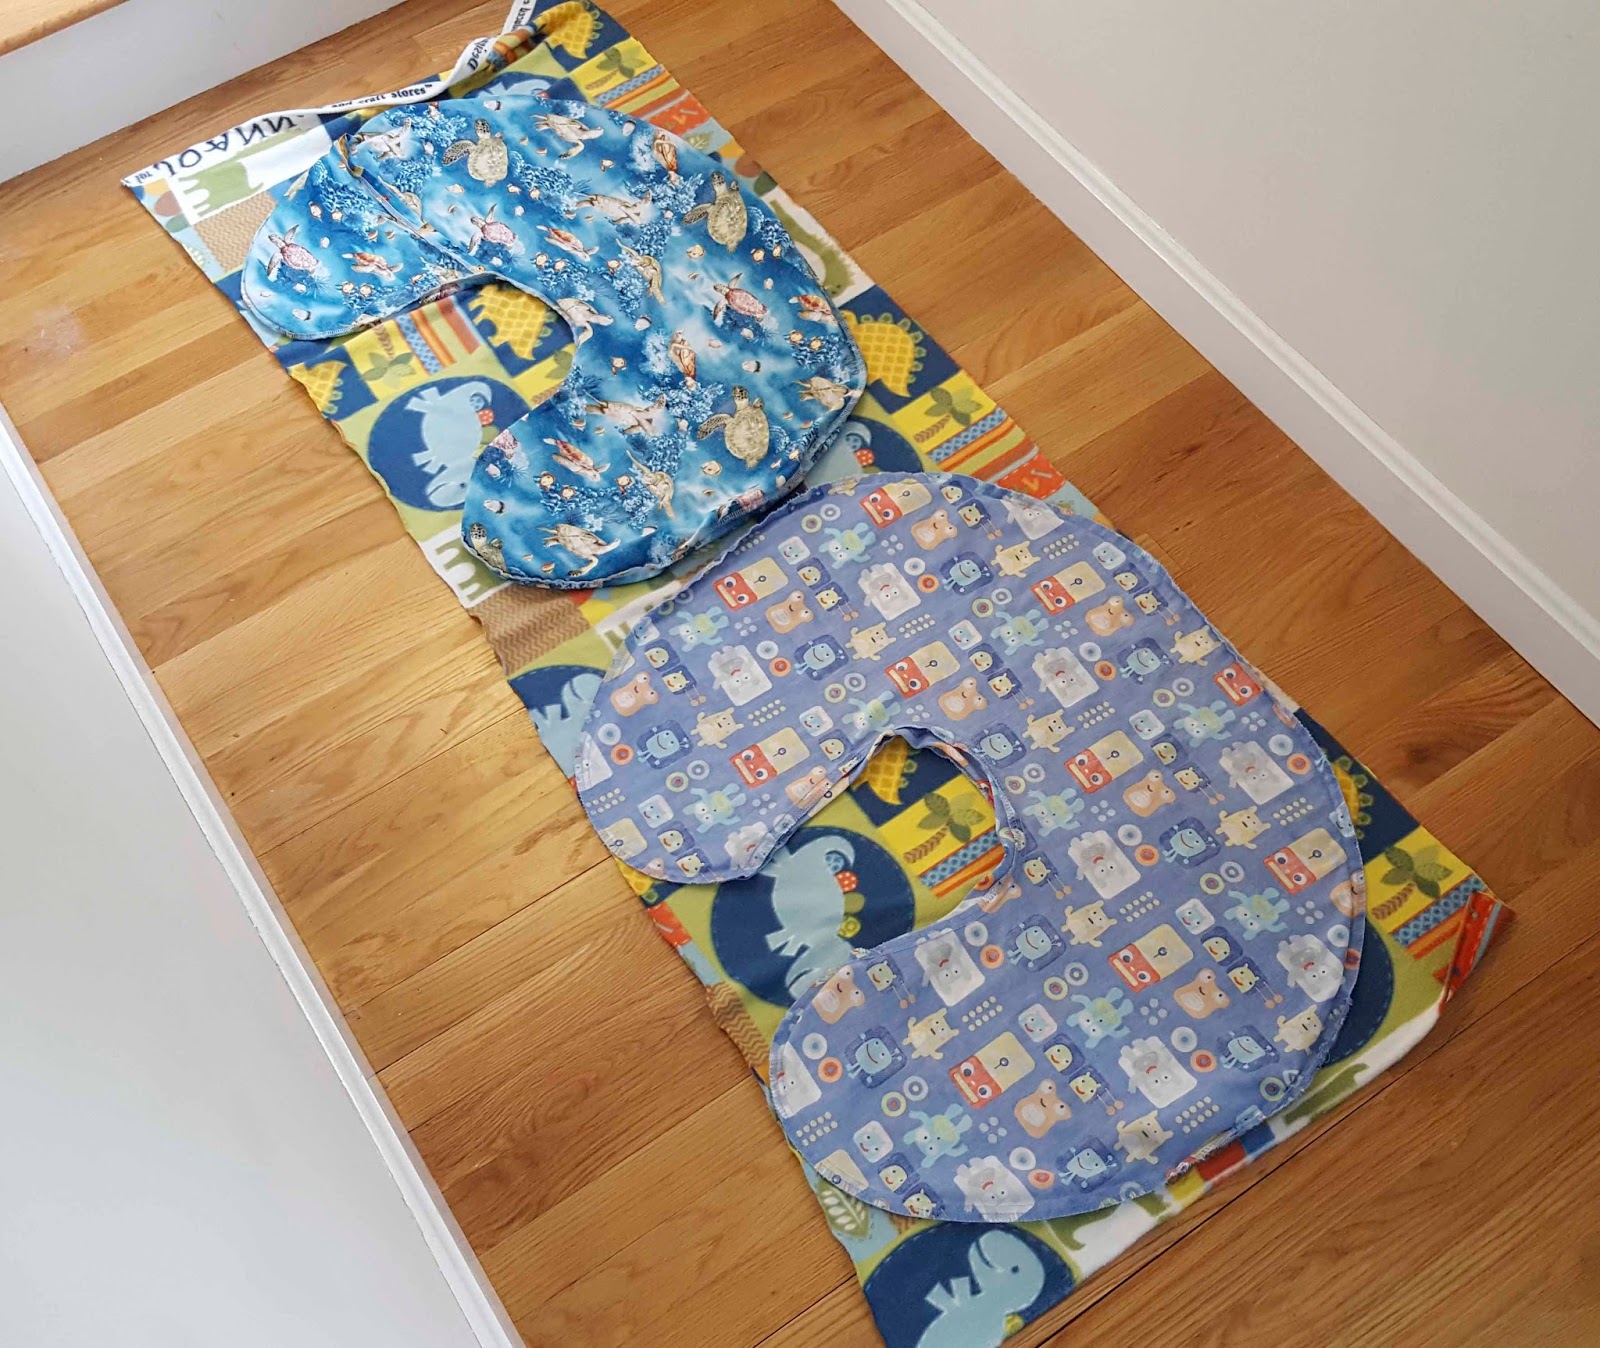
Both of these boppy covers fit the exact same pillows... but the commercial boppy cover is a little bigger than the Etsy one. (The etsy shop has closed so I can't link to the origional seller.) Although the commercial boppy cover has this inset piece I will us the inside out cover to determine the shape to cut and then make a fold over pocket to keep it inside the pillow. Ready, set, go!

I traced the boppy cover onto some "pattern paper" (i.e. packing paper that I ironed smooth). I cut the shape out, folding it in half after to amke sure it was symmetrical. If I were working with a fabric that was stiffer, like cotton, I would make the whole pattern on the fold but you can't really press fleece fabric.

This pattern piece was cut with 1/2" seem allowance as was present on the commercial boppy cover. This doesn't quite fit on the fabric that I need to cut but it will be close enough I think.

I pinned the paper to the fabric and then cut around it to create the main body shape.


I used the same pattern piece for the back pieces but created some folds in the fabric to cut the lengths I wanted. The long back piece will go to the bottom fold, and the short back piece will go to the top fold.

 |
| Large back piece pinned. |
 |
| Small back piece pinned. |

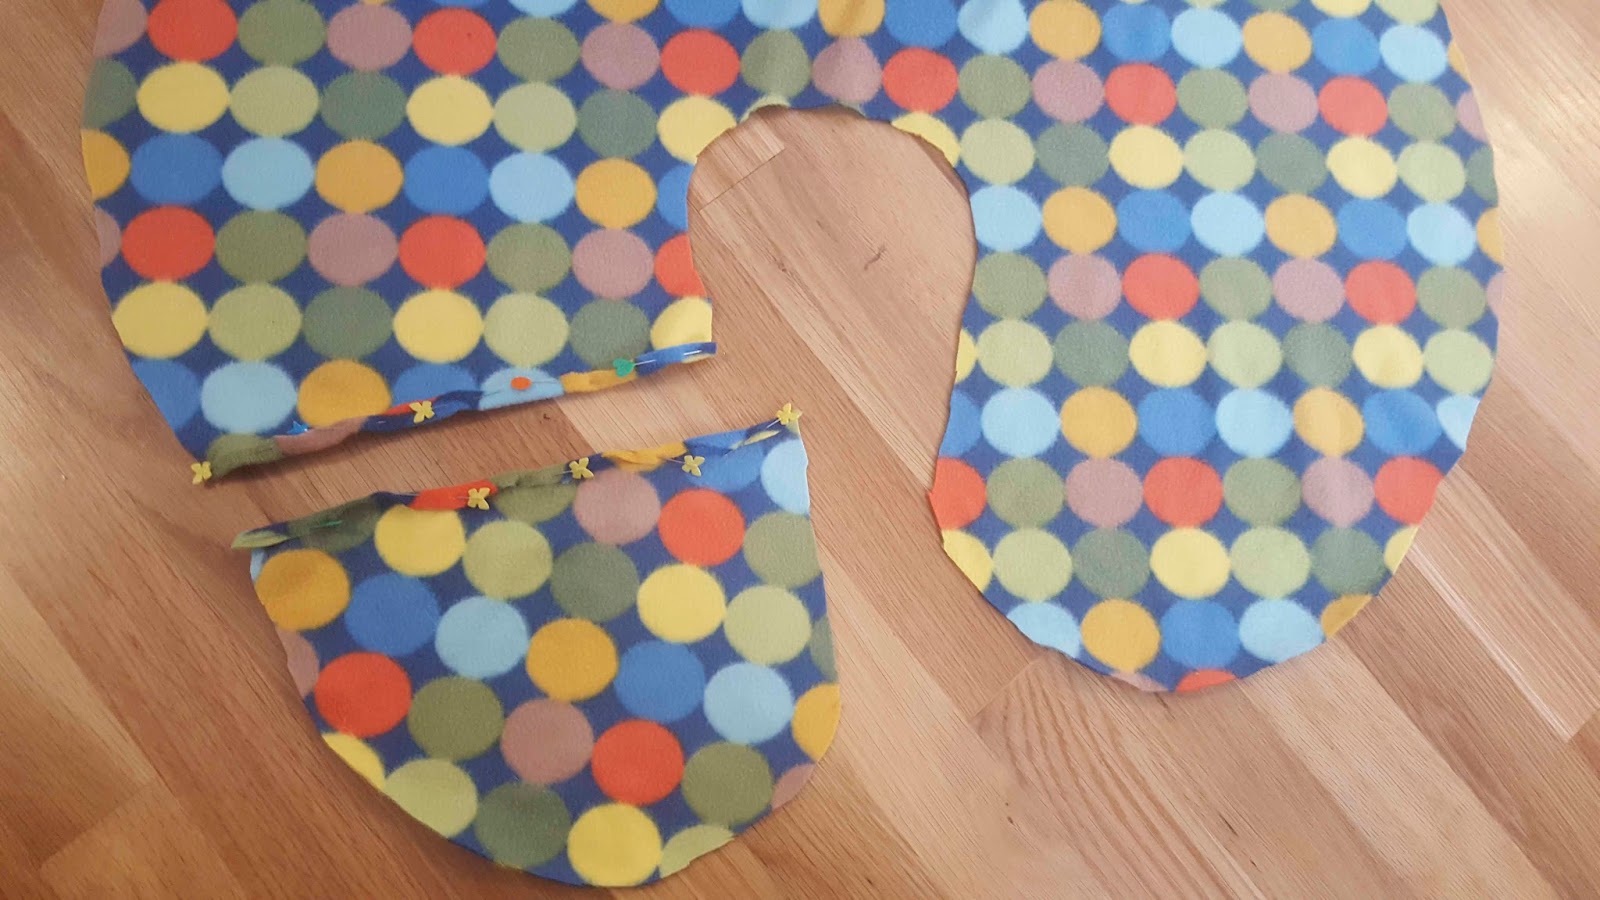

I pinned the pieces together with right sides facing. First the front piece face up, then the big back piece face down followed by the small back piece face down.

I planned to sew a half inch seem around the edge. I found it difficult to feed the fabric through without it stretching so I settled for what I could get with the straight seem. Next I strengthened the edge with a zigzag seem.


This fabric was pretty hard to sew, for a novice like me at least. it was a bit stretchy and slippery so it didn't go through the machine easily.

But hey, what I have hear looks like a boppy cover at the very least.

When I put the boppy cover on the pillow it was a little hard to squeeze it in. Not becuase the fabric was too tight, but just because you have to feed it around like a stocking. Once the cover was on you can see that it is a bit too long at the eneds. This is very fixable by just taking it in a bit, but I don't think I'm going to bother. I think this can be explained that the fabric needs to stretch more around the pillow width wise than lengthwise giving some extra give towards the ends. The pocket also contributes to the extra length.

The cover is soft and cozy and I know that Rowdy will enjoy it. Does it matter to me that it isn't perfect? Not one bit. I'm going to use this for myself and Rowdy, not as a gift or something I plan to sell.

Plus this cover matches the blanket I made Rowdy perfectly! I'm so glad that the fabric store overcut the fabric when they mailed it to me!

I am currently using this cover for my nightly nursing sessions. I love how soft the fabric is against my legs.


More experienced sewers out there - do you have any recommendations how I could have improved this project? I'm still very much a novice sewer so I have a lot to learn!

Project started and completed 5/5/2016
