Thursday, February 26, 2015

LÄTT Table Hack for Lucky


I love going to Ikea.  There is something about the showroom that gets me really excited about decorating our home.  I've been sharing a lot of non-knitting based craft projects lately because I spent a lot of last fall decorating Lucky's nursery and then using up the remaining crafting components.  As we are starting to think about our own first house, I like thinking about what kinds of things I can do with a space that is all our... but that is another story.  Today I'm excited to share with you the LÄTT Table and Chairs Hack we did to create a vibrant set for Lucky.  These table and chairs are only $19.99 at Ikea (the same set is more than twice as much through Amazon) and built out of plain, unfinished wood.  This is the PERFECT set to paint and modify.  In this post you will learn what worked, and what didn't work about my attempt to modify this set.


The cardboard boxes from Ikea made a perfect "dropcloth" for this painting project.  We set up our Summer Infant Playyard Fence around the work area to keep Indy from furring up the painting.


The plan was to cover the seats in some raindrop fabric that we ended up not using for Lucky's pillows.  We wanted to paint the wood portions purple, blue and teal and turn the white top into a Navy Chalkboard using navy paint and hen a clear chalkboard coating.


When I did the first coat of acrylic navy on the table top, it didn't stick very well.  I left the brush strokes and hoped that the second coat would stick to the top better than the first.


After the fact I realized that maybe we should have painted the wrong side of the table top, maybe it was more porous and would have held the paint on better, but when the second coat and two chalk board layers went on okay, I stopped worrying.


In between layers of the chalkboard, I painted the wood sections.  I used Frog tape to cover the cross sections of the chair backs.  I wanted this section to be the same color as the table so it would be clear that the colors were intentional.


If I were to do it again I might have made all horizontal sections teal, and all vertical pieces either purple or blue, but I didn't know how well my painting would come out. Each section had at least two coats of paint.  The purple was much thinner than the blue, even though they were the same brand so I had to do an extra coat to make the color solid.  


I had a lot of trouble selecting the teal paint color.  I wanted this color to pick up the fabric from the seats, but many of the teals were too blue and not bright enough.  I was nervous, but not only is this teal color EXACTLY what I wanted but it is the same hue as the purple and blue.  I think these three colors will really pop together!


I wish I had painted the cross bars of the chair backs first because it was an easier seal to make with the tape.  It looked great after I took the tape off to reveal the teal bars, but you can see some flecks


This paint isn't being sealed in with anything, so I'm expecting it to scratch easily.  However for a $20 set of table and chairs, if it picks up a distressed look I'm okay with that.  I mean, my kid is going to draw and paint at this table, so the point is just to make the set look less boring.


Covering the top of this table was an epic failure.  I scraped off some of the paint as I inserted the top into the table, so I patched it up with a q-tip and some excess navy paint.  Since a little navy paint got on the teal, I used frog tape on the edge to touch it up.  But look what happened when I removed the frog paint!  OH NO!


Thankfully all of this paint came off really easily  I just disassembled the table, removed the table top and pealed all of the paint off.  Oh well.  Some ideas work better than others.  I didn't feel like trying this whole experiment again on the bottom of the white piece because I didn't feel like having it fail a second time.  We'll make Lucky a cool chalk board in our future house some other way.


The bottom of the chairs had nothing to prevent them from scratching the floor, so I added some "FIXA" pieces to the bottom.  No point in messing up the floors in a rental place!


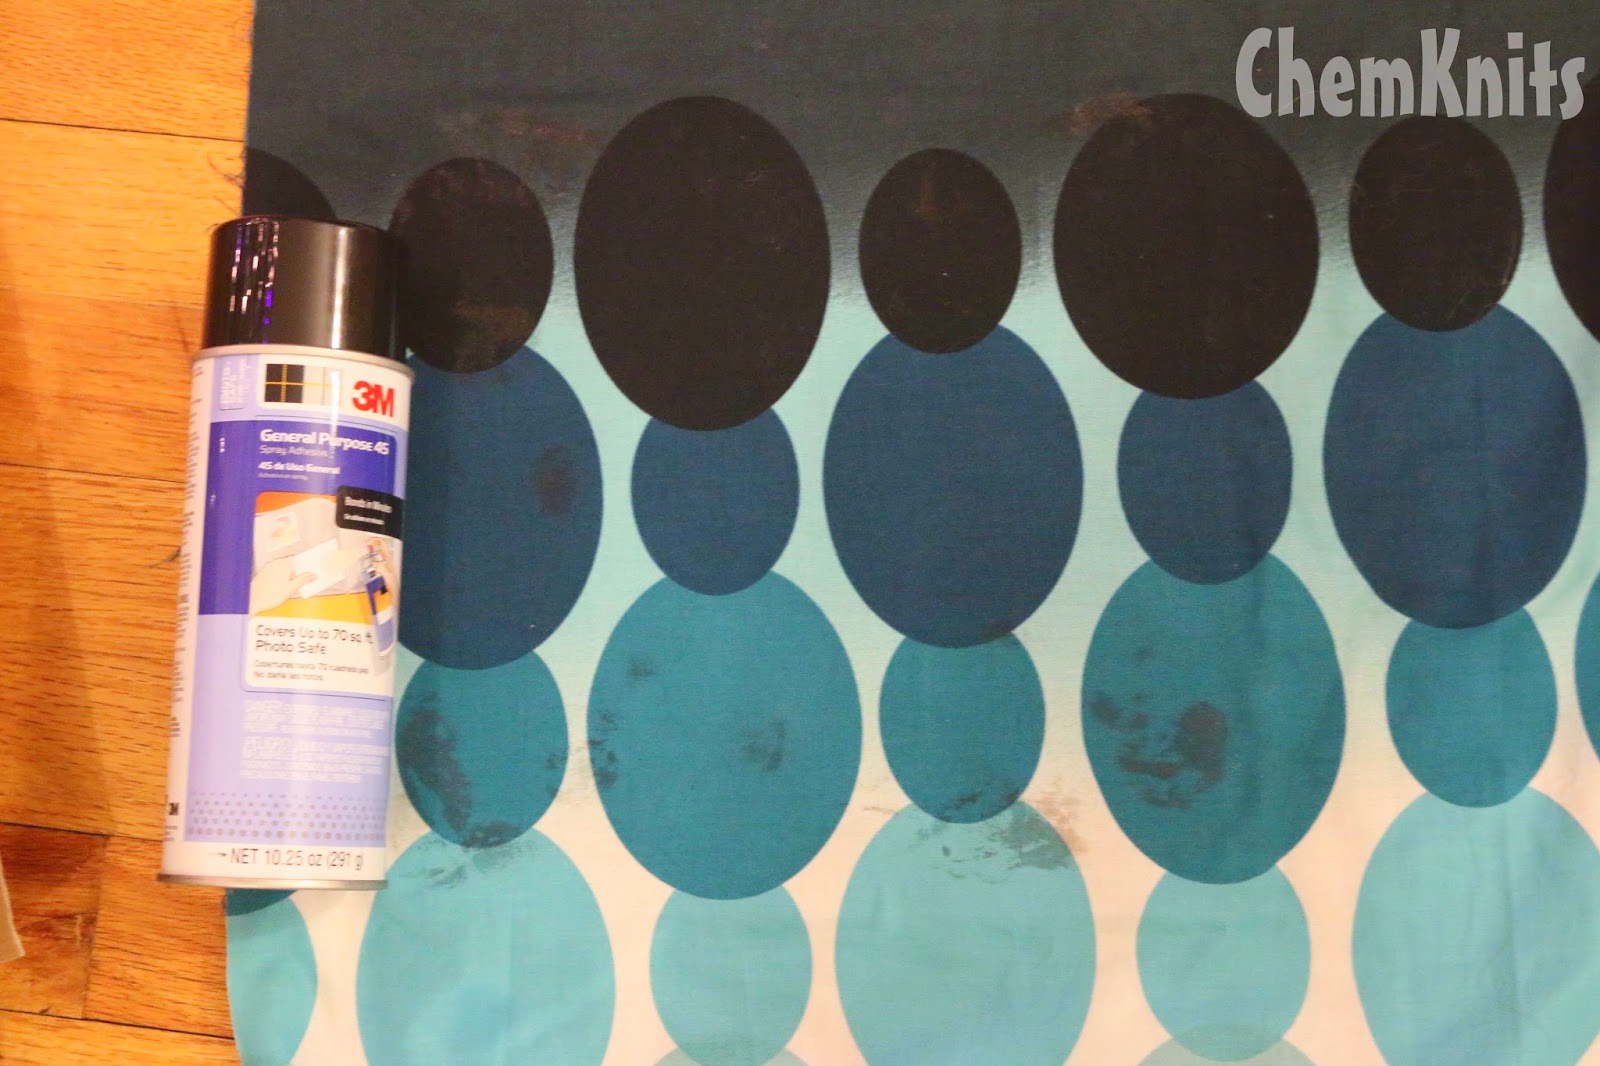
Next, it was time to secure the fabric to the chair tops to tie this whole set together.  I purchased some 3M General Purpose 45 Spray Adhesive and sprayed the underside of one of the chair tops.  Why the underside?  If this got messed up again I wanted to be able to undo it!  


More problems!  UGh there are ugly splotches!!  Crap what should I do now?  This project could have been done SO MUCH SOONER if these things hadn't happened.  *Sigh*  I think that I sprayed on too much adhesive and didn't let it sit to thicken long enough before adding the fabric.  These stains did not go away after a few hours, so I knew I wanted to start over.  I pealed off the stained fabric and started over.  This time I let the adhesive sit for a bit and blotted the surface before applying the fabric.  NO STAINS!  WAHOO!


It was finally time to assemble the chairs.  The key - attach the two small boards to the bottom before adding the sides.  I don't think you could slide the top in easily, you have to really press it.


It took some work to get the chair in there, but the bottom with fabric on either side did ultimately fit.  I trimmed the fabric from the underside of the chair and then they were ready to go!


When it is all completed I feel exhilarated.  I had an idea and executed it without instructions!  I even had two almost fail moments and bounced back.  It is so satisfying when a craft project is successful!


For 15 month old Lucky's first time playing with his table, I wanted to set him up with something special.  I therefore decided to make some blue-raspberry Jello Play dough.  I store it in the fridge, and although it gets sticker over time it lasted a few weeks.  Lucky LOVES to play with playdough!


Not only does Lucky love his playdough, he loves his table and chair set!  This will not stay super clean for long, this strong 15 month old loves to pick up the chairs and drag them all over the house.  The edge of the table is accumulating dried playdough spots and the top is getting crayon marks.  Unlike other things I've made, this project is MEANT to be played with.  Each mark gives the already well-loved set some character.


If I cared about preserving the table better, I could have varnished the table and chairs to seal in the paint and protect the fabric... but not only do we not have a good, ventilated space to do this but I didn't really feel like going that extra step for something so simple.  


The LÄTT chairs can hold an adult's weight, but the table is so low that it is easy to sit on the floor to pay.  This set has brought us so much joy already that it was worth every penny!  

Monday, February 23, 2015

Free Easter Knitting Patterns

Knitting is not just a winter hobby, it can be a great way to make fun, Spring Easter crafts. There are so many knitting patterns for Easter eggs, egg cozies, baby animals and much more.
In this lens, you will find Easter knitting patterns for purchase, and free Easter knitting patterns available online.

Free Easter Egg Knitting Patterns


Free Bunny, Chick and Lamb Knitting Patterns - Free Easter Knitting Patterns


Free Easter Knitting Patterns


-----------------
This pattern search was previously published on Sqiudoo, however with the migration of Sqiudoo to Hubpages at the end of 2014 some of the pattern searches don't work for Hubpages's model.  I have reposted the former lens/hub here.  All the research finding the free knitting patterns is my own and I wrote all of the descriptions of the patterns unless otherwise noted.  Please let me know if any of the links are broken, I am working on migrating multiple pattern searches over here at once.  

Sunday, February 22, 2015

Cake Smash Stand (and a Birthday Cake!)

A first birthday - a DIY dream for a crafty mother!  
I went back and forth for a really long time about whether or not I wanted to use a stand for Lucky's first birthday smash cake.  I love the way the cake stands look, but did I really want to purchase something that would be used once?  I even found myself trolling wood part supply shops online looking for the pieces I would need to make my own pedestal.  I was worried that the baby would just topple the whole thing over... and then I realized that if he does then it won't really matter because that is just part of the experience. When I came across some wooden parts that I loved at Michaels, the debate was over and I was off to make my own cake smash pedestal.  I happened to have the paint and glue already, so the only costs to me were for the wood pieces.


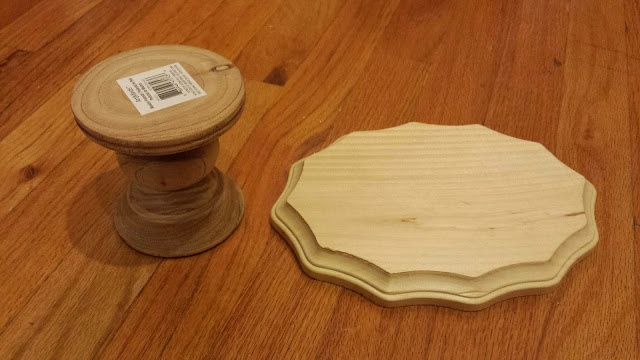
My Materials:  Acrylic paint and sponge paint brushes, gorilla glue, 1 - 7"x9" wood plaque ($2.99), Wood Pedistal ($4.99 but with 40% off coupon $2.99.)  The right price for an experimental project!


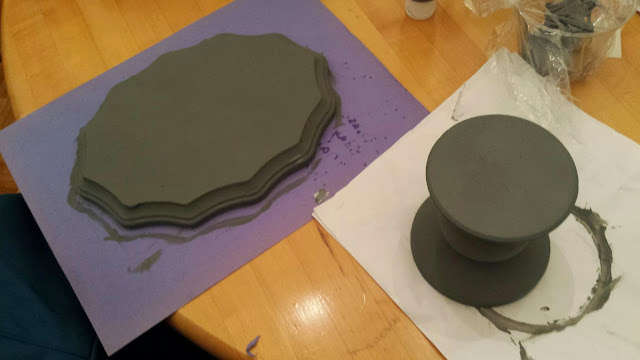
The paint that I had is left over from other birthday projects (I made little chalkboard food labels out of cardboard) and from his whale chalkboard nursery decoration.  I debated making this pedestal the lime green that is part of the party colors but in the end decided to go with the neutral grey so that the cake would shine and be the star.  (Plus Lucky's cake smash outfit had a lot of green in it and I didn't want to take away from his little turtle butt!)


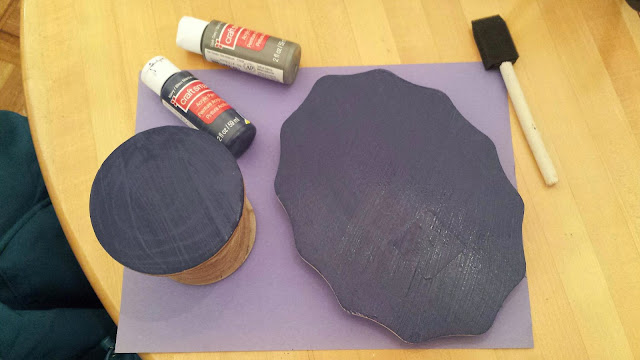
I painted the underside of both pieces Navy.  This will only show if Lucky knocks the whole thing over, but I thought it could be cute to have a contrasting color on the bottom of the top piece and figured that I might as well color the bottom of the pedestal, too.  Once these coats of paint were dry I was ready to start gluing.


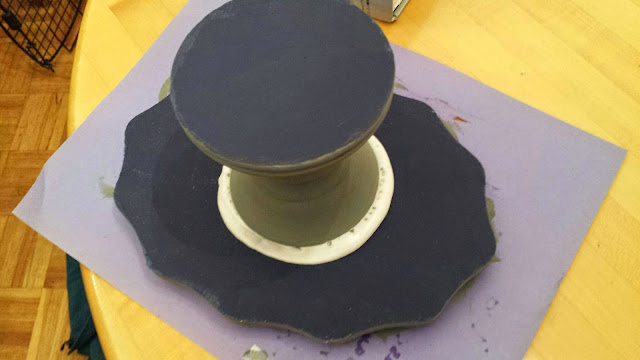
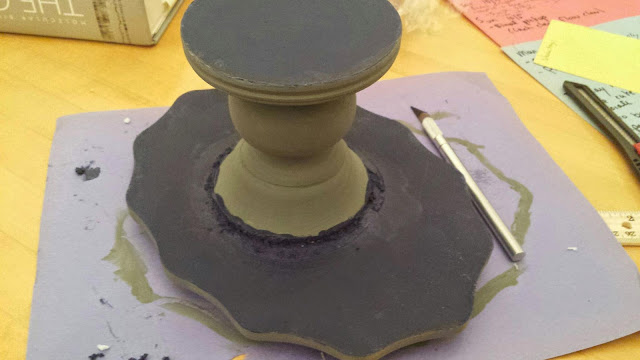
So... the gorilla glue instructions say that you should only use a little.  You really should listen to those instructions.  We applied the glue, never having used it before, and then secured the base to the top when WOOSH, out came the expanding glue around the edges.  This white strip of glue ruining my perfectly painted pieces.  I held some hope that it would turn clear in the end, but that didn't happen.


I actually debated sending my husband for a whole new set of wooden parts.  This is one week before Lucky's birthday, so I was a little manic.  In the end, I took an exact-o-knife and shaved off the excess glue and painted over it.  The edges aren't quite as perfect, and you can tell the glue was there... but I decided that no one would notice but me (and you now that I've pointed it out.)


I'm glad that I kept the original pedestal.  I think this is the only picture from the entire birthday photoshoot where you can tell something *could* be off around the join of the pedestal to the top. I hope that you will feel courageous enough to try this for yourself, just remember that LESS IS MORE when it comes to the glue.  

----------------------------------------------------------------

Practicing for Lucky's Cake (Because what would a cake stand be without an egg-free cake for a 1 year old to smash?)

Initially I was going to do a whole separate post about Lucky's cake, but it turns out he is now 16 months old and I haven't finished up writing this post.  Whoops!  Why not combine the cake with my DIY pedestal so that you can see the final project in all of its glory!  *Woosh* let's go back in time to a big milestone for my baby.

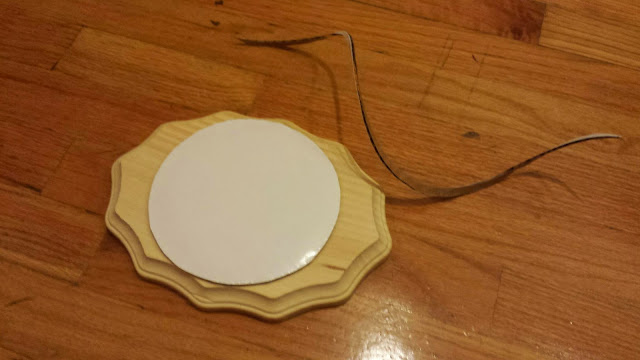
I had to cut down the Wilton 6-Inch Cake Circles so they would fit better on the plaque.  It was surprisingly easy to do and my finished circle still looks perfectly round.  Plus I know that my 5" cake will still fit on this round so I have something that I can use to transfer it to the pedestal (to minimize initial mess on the pedestal.)  Sure, the baby might just pick up the cake and throw it, but this could have happened just as easily if it started 5" lower to the ground.


For Lucky's cake, I purchased a 5" x 4" Anodized Aluminum Round Cake Pan. Since Lucky is allergic to eggs, I did a whole test cake substituting canned pumpkin for the eggs and it turned out GREAT.  The cake was super moist and I was actually disappointed that you couldn't taste the pumpkin in it.   I made a deep cake and then cut the cake in half to make two layers, rather than needing to purchase two 5" pans.

Egg Free Smash Cake Modifications

  • 1 box Duncan Hines Devil's Food (moist) mix.
  • 3/4 cup canned pumpkin + water and oil as directed (No eggs!  I substituted 1/4 cup pumpkin for each egg.)  
  • preheat the oven to 325 degrees F
  • Bake 5" round, 3" deep cake for 1 hour 20 minutes or until a toothpick comes out clean.   

Because I was planning a whole DIY photoshoot of his smash cake, I did a test cake some weeks before his birthday.  I wanted to practice my frosting manipulations and see what worked and what didn't.


The cake itself came out great.  It was a bit crumbly, but firm enough that I was able to slice it in half to get two layers.  I mixed some very blue frosting (required a TON of Wilton's Blue food coloring, more than I ever use to dye yarn) and did a simple icing of the cake.  I even made my own piping bag out of a zip lock!  I needed the blue to be deep since the photoshoot backdrop was a pale blue.


I iced the cake by adding small dalops of icing to the side, and them smoothing them back along the cake with a spoon.  They started looking scale-like or even almost wave-like.


I did the same thing on the top of the cake, but pulled the icing towards the center for a star burst effect.  


My original plan included a cake pop octopus on top of the cake.  How cute would a yellow ball on top of this cake look?  Unfortunately my cake pop looked super messy and pinterest fail-y so I decided to leave it off.  I did pipe a cool looking fish, but that wouldn't show up too well flat on the top of the cake.


Now there is one thing you might be asking... where are pictures of Lucky with his cake?  Stay tuned because those are coming.  As I was baking his actual cake for his birthday I took notes of some thoughts that I decided to share with you surrounded by pictures of my happy birthday boy.  Here is a sneak peak of a SECOND (well third if you include the practice one) cake that we used at Lucky's Under the Sea Birthday Party.  

Wednesday, February 18, 2015

Mostly No-Sew Bowtie


I still have so much remnant fabric from my other "sewing" projects so I've been looking for ways to use it up.  I like this Baby Bowtie Sewing pattern because it is just cutting out rectangles.  It doesn't hurt that I've favorited about a hundred baby bow ties on Etsy, if I can make my own I'll save myself loads of money.  I can manage to cut multiple rectangles! Ultimately the construction is similar to that of the crochet bow ties I've made.  Start with a rectangle, sew together and the cinch in the middle.  Perfect!


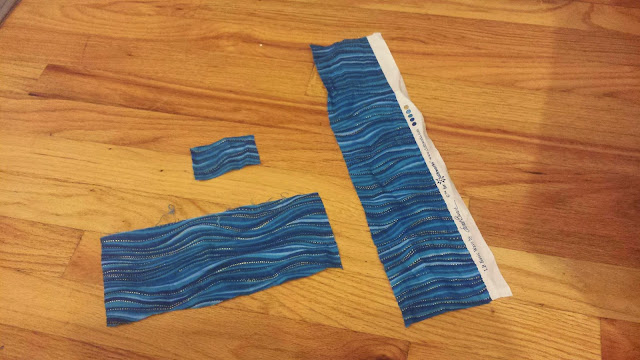
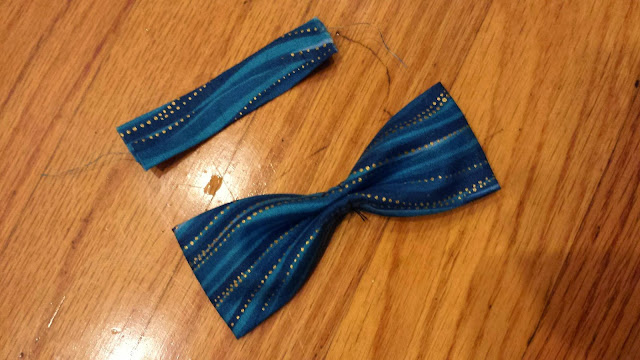
I'm so lucky!  This remnant in the piece of my fabric is the PERFECT size (just cut out a little but that's fine.)


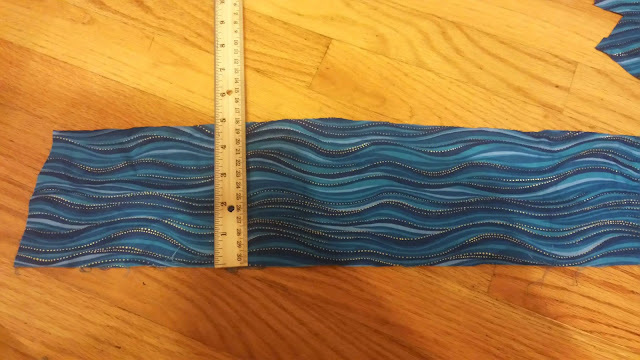
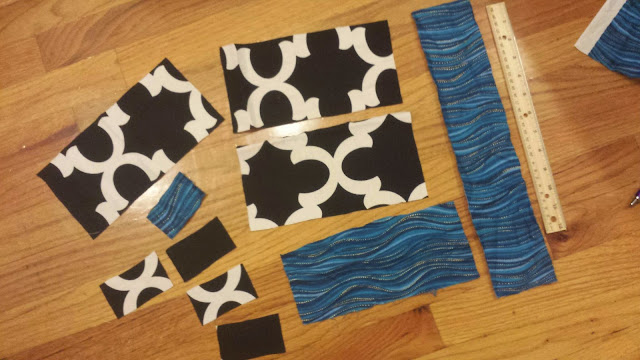
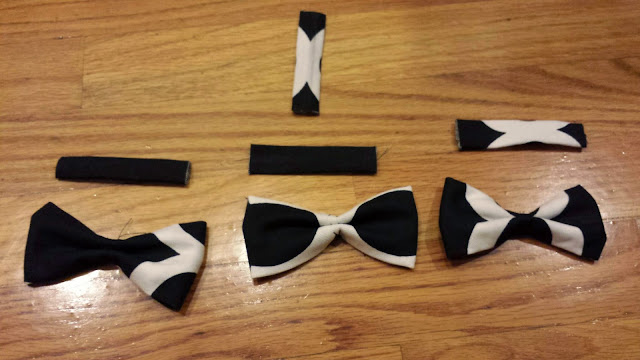
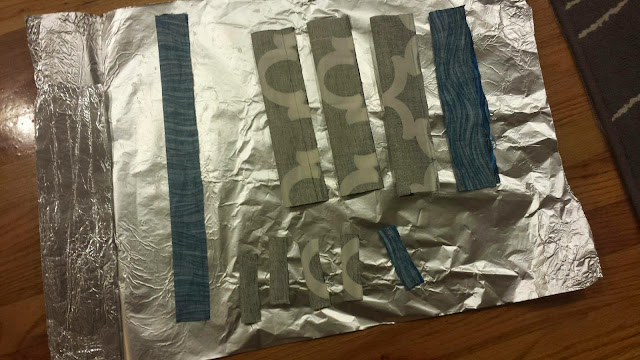
Rather than using snaps like listed in the pattern, I decided that I wanted to stitch (with my fabric glue) a neck band.)  I only cut out one piece (the long skinny one here) because I wasn't exactly sure how big to make it. My neckpiece is about 15" x just over 3" after I've trimmed it down.  I cut three versions of the black one because I wasn't sure what way I'd like the pattern the best.  I'll cut the neckbands later if I have to.


I'm simplifying the construction a tiny bit, which is saying a lot for a project that is pretty simple to begin with.  Maybe I should have actually measured and drawn lines... but it is close enough.  I have enough fabric to try making another one later if I need to.


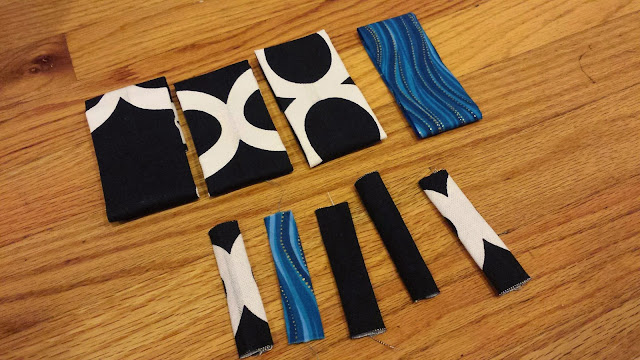
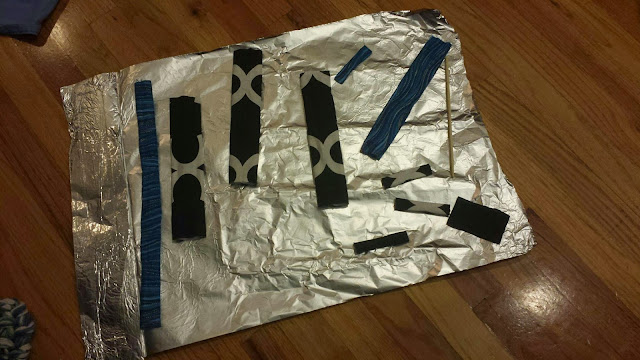
Rather than cutting two pieces like in the other neckties I made, There are one piece folded over.   I should have pressed before using the fabric glue, but since I want the creases to NOT be where the seem is located, I decided to glue first and then ask questions later.  (again, if I mess up I'll try again properly.)

I "hemmed" the small pieces like the long ones.  If they're too long I can always trim it because the glue can't unravel.  Wahoo for fabric glue (Dritz Unique Stitch Adhesive!)


I flipped the tubes right side out and then pressed them with the seams in the middle of the back.  During pressing one of the little tubes got marked up, but since I had an extra I'm not that concerned.  But it is still strange that it happened.  I'll just make sure to take extra care when ironing this black fabric in the future.


Next, I glued each tube in half.  The seams on the back don't all line up with the center of the bowtie as they should if I were following the instructions properly because I arranged them the way I want the pattern to show up for the tie itself.  I like the size of the black and white ones better. (4.25"x2" vs 4.25" x >1.5")  I also think my neckband is a bit too thick for the blue one.


Up until this point I have only used liquid stitches to make these ties.  But when it came to assembling the bow tie, it was easier to use a needle and thread to secure the bow portion before gluing on the little strap.  


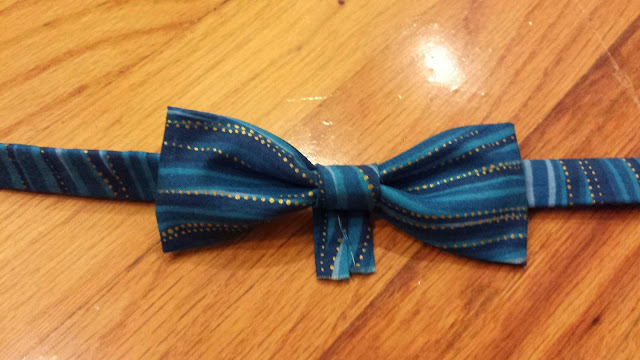
The blue neck strap I made is too thick.  I think I want to make the neck band elastic or maybe even figure out how to secure clips onto the ties.  For now I'm going to stitch the rectangles together but wait to put on the band around them until I decide if I want to get clips or elastic.  


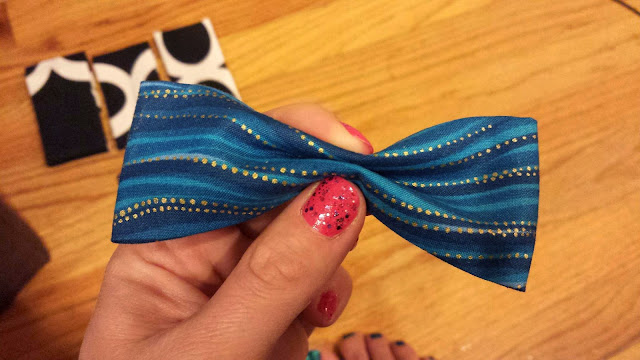
I glued the small strip around the blue bowtie such that it could rotate.  This would allow me to insert any elastic or whatever I decided to do to the neckband later.  I pressed the large neckband in half to make it thinner and then slipped it through as a temporary way to model this on Lucky. I cut the center strip down to size after slipping the strap into place.  (Tip - secure a safety pin to the end to help slip something larger through.) 


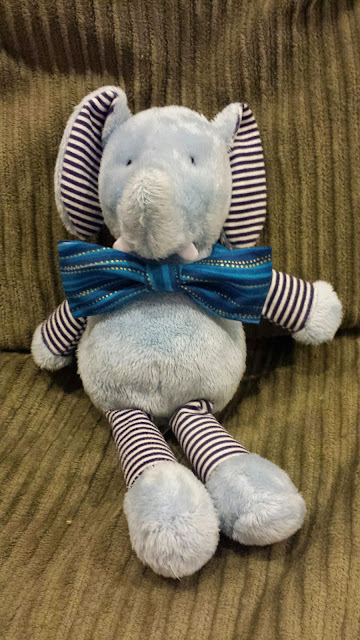
Once again, I'm sitting here waiting for the baby to wake up to try on his latest accessory I created for him.  Thankfully Mr. Elephante was happy to model the blue bow tie for me while I waited.  


I've only photographed Lucky in one of the ties for now, but hopefully I'll get that elastic and dress him up in the others soon.  I really like how I got three very different ties out of the same black and white fabric.  Don't they look fun?  


These bowties are SO easy to create.  I easily could have banged out a bunch in an afternoon, but some of my indecisiveness forced me to spread this project out over a few days.  Now I'm thinking about a trip to the fabric store to make Mr. Lucky some more neckties.  Am I crazy?  Who knows, but maybe I'd find something fun in the remnants bin...