Wednesday, October 31, 2012

Halloween Illusion


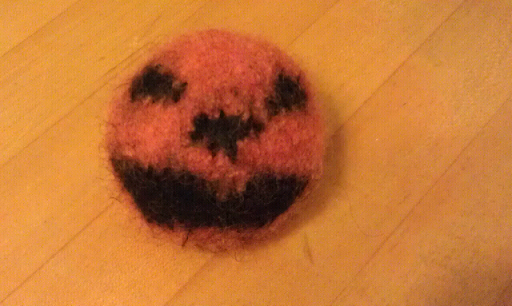
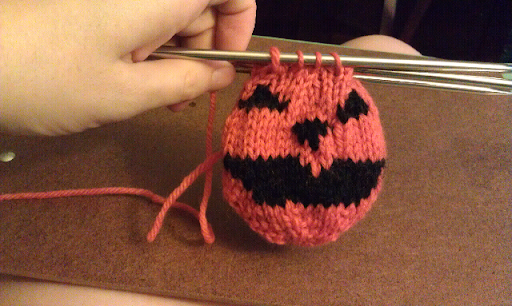
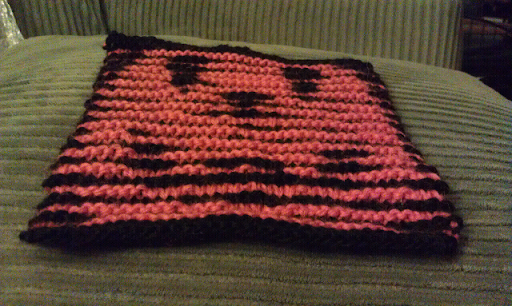
I haven't knit an illusion project in a long time since I knit my brother the Dark Mark Scarf.  I have knit many pumpkins this month, and I though that the Keith's pumpkin possee would not be complete without a 2D member.  I therefore decided to knit the Pumpkin Illusion Face Dishcloth. I used size 4 knitting needles and KnitPicks Wool of the Andes yarn in Coal (black) and Orange. I wanted the gauge to be a bit tighter to make it more of a coaster/trivet tpe item perfect for Halloween parties.


I am a visual person, and I greatly prefer working from charts over written instructions. The Jack-o-lantern face is simple enough, and small enough (35 sts x 60 rows) that I felt that I would be able to spot any errors in the instructions as they are happening (the pattern was error free!) If the design were more complex, then I would have translated it into a chart before starting to knit.
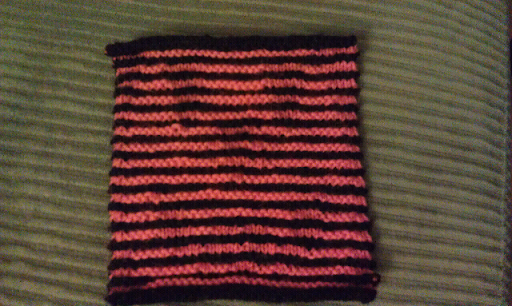

I knit the whole pattern as written until the last pattern row.  I changed row 58: p6, k23, p6 in orange (I wanted the shape of the head to be more round, rather than hat-brim-like).  This project required 11g of the back yarn (24 yards) and 10 g of the orange yarn (22 yards).  

Sunday, October 28, 2012

Spinning Seafoam Silk


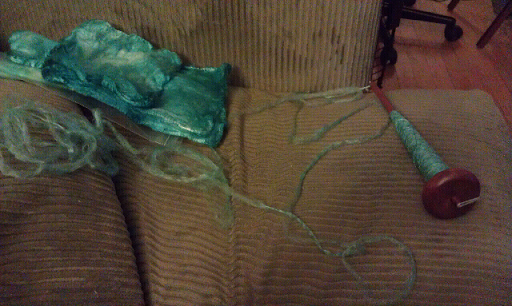
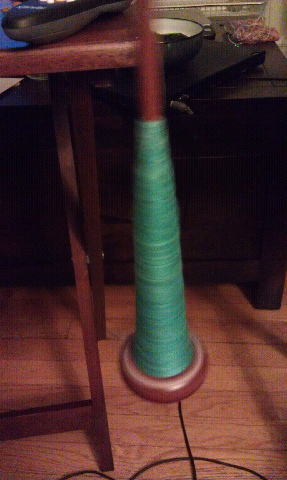
I dyed my own silk hankies, and now it is time to spin it!  This is my second attempt spinning silk hankies and   I forgot how easy it could be!

I started out dyeing 1 ⅛ oz (31 g) because I wanted enough yardage to make a whole project with.  I calculated the yardage/weight from my first silk hankie spinning attempt, which is how I arrived at this number.


This silk made my spindle a little sticky.  I'm hoping that I'll be able to wash this off.  I'd read that some silk can be gummy a bit, and that can make it difficult for the fiber to take dye.  These hankies took all of the dye that I added, but are still a bit less smooth than the pre-dyed hankies I purchased from knitpicks.


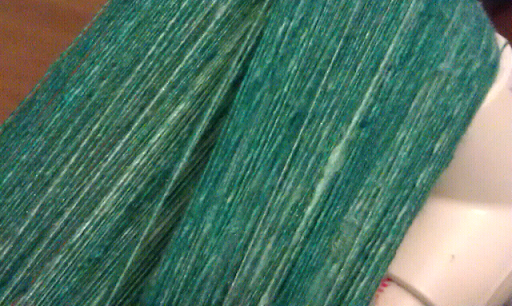
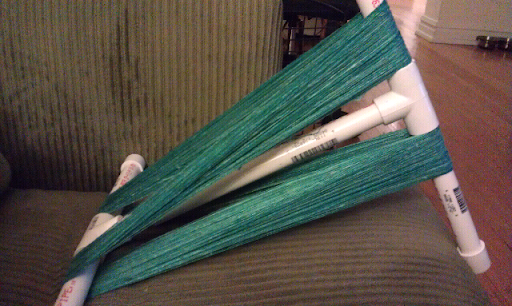
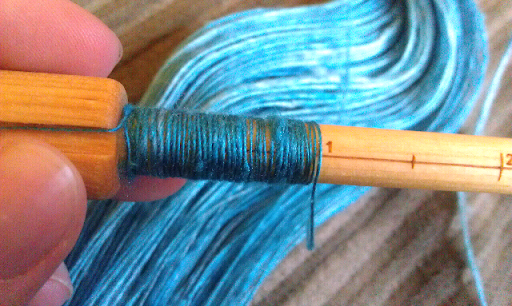
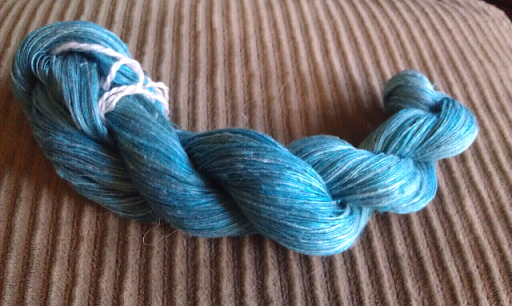
The pictures are making the yarn look more of a teal when it is a blue with only a hint of green.  There is great depth of color, and I am really excited to knit a project with this yarn.  How much did I end up with?  329 wraps * 4 ft/wrap = 1316 feet = 438 yards. 


I recently purchased a WPI (wraps per inch) tool so I could get a better estimate on the yarn weight was creating.  This yarn has is ~35 wpi which makes it clearly lace weight.


I decided to call this yarn seafoam silk.  I love how stunning it looks wrapped up in a skein.  What do you think I should make with it?

Thursday, October 25, 2012

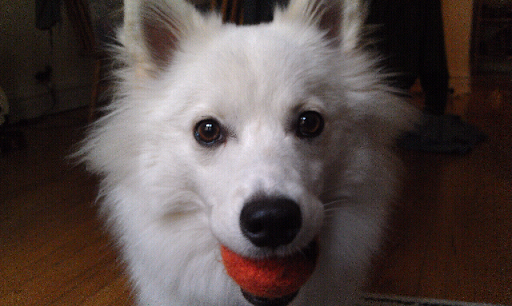
Indy loves his Jack-o-lantern!

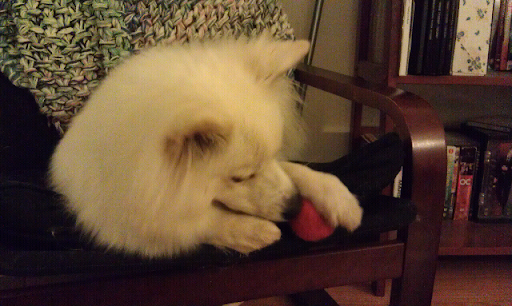
Indy loves his jack-o-lantern toy so much that I had to share a few other pictures of it.... AND a video!


Indy doesn't want to let go of his new toy, and he takes it to all of his favorite places.  His crate...


His chair...


And now you can watch how much he really loves it!


When Indy has a toy or treat that he really likes, he gets very submissive in a "Please don't take this away from me" way.  He will hold it in his mouth, come up to you for scratches, but protect his toy.  (He never growls... because he knows that then the toy WOULD get taken away.)   

Monday, October 22, 2012

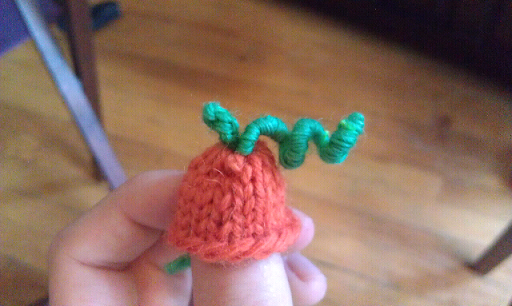
Another Pumpkin


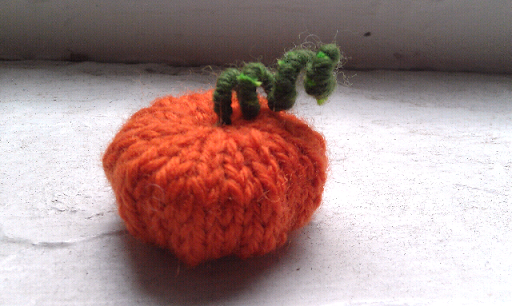
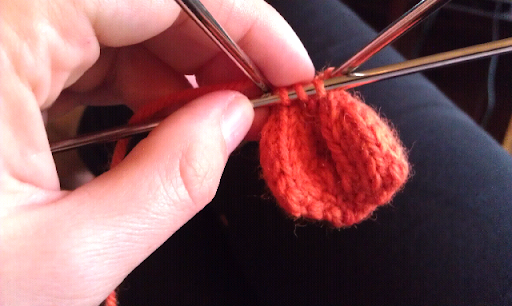
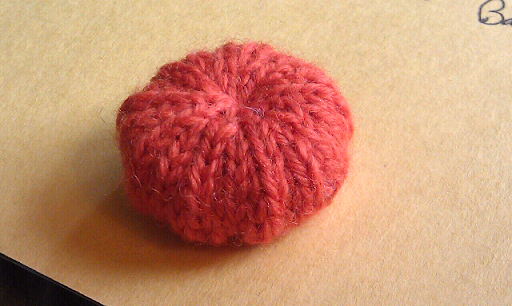
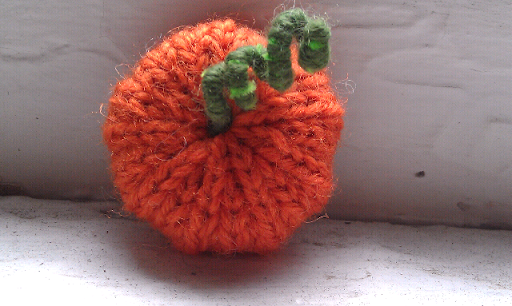
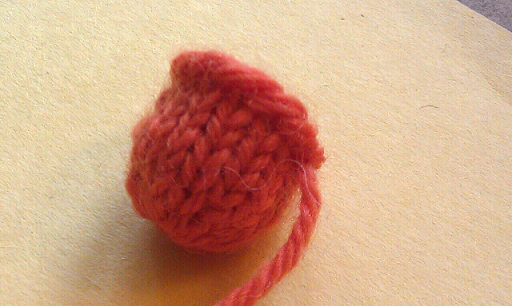
It is time for another knit pumpkin, using size 3 needles and Orange Wool of the Andes yarn.  


The CO edge had a bit of a hole that I needed to pull closed (after stuffing), but this is the kind of sewing I never mind!  I needed to pull the co endge close.  I am very impressed with the ridges created by the placement of increases and decreases (I used KFB for my increases.)  


Instead of an icord stem, I wrapped yarn around a pipe cleaner and then wrapped that around a knitting needle to create the curl.  

I didn't do anything to show the scale of the final gourd, but it is quite small... just not as small as the teeny tiny pumpkin!  


Friday, October 19, 2012

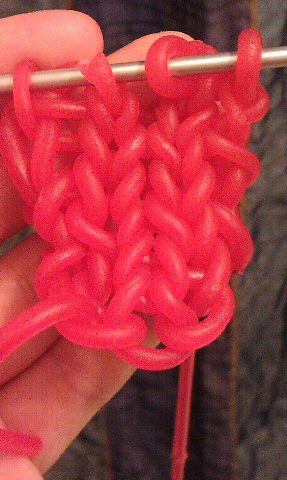
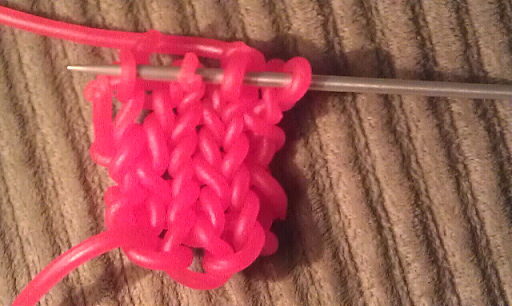
Knitting with Twizzlers

That's right!  I spent a day playing with Twizzlers Pull 'n' Peel Candy, knitting with Twizzlers to be more exact.


Knitting with twizzlers is a little tricky because the candy has no give.  In the video, you will see me break a stitch, and try to repair it.  Sometimes you can squish the candy back together, but in that stitch the candy had been pulled too much for me to make a whole stitch again.  


I hope you enjoyed this silly little knitting project of mine.  What is the silliest thing you've ever used for knitting?  

Saturday, October 13, 2012

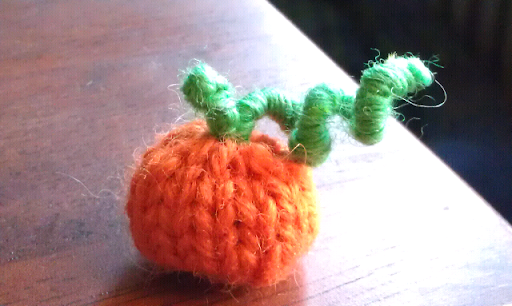
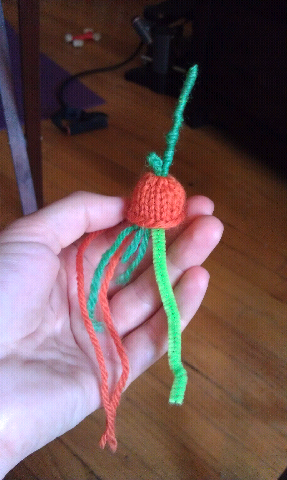
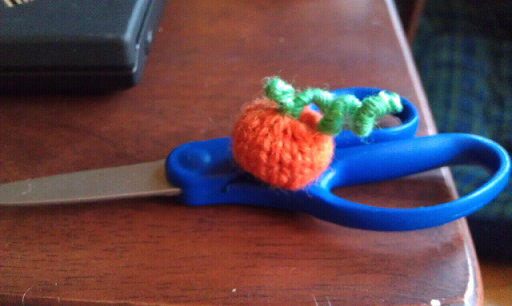
Teeny Tiny Pumpkin


October is the month of pumpkins!  This teeny little pumpkin was a really fast knit and is great if you have a little orange wool around.  I used size 3 knitting needles, scrap Wool of the Andes yarn in orange and green hand dyed.


I made a few modifications to the pattern:  I knit the pumpkin in the round on 3 dpn's to avoid extra seeming.  I didn't wrap the pumpkin to make ridges.  Instead, after pulling the bottom closed (the loose ends were enough stuffing) I pulled it through the top next to the stem and pulled tight to get the pumpkin shape.


For the stem, I wrapped the green yarn around my pipecleaner for the vine.
I love this last little picture because it really shows how tiny this pumpkin is.   What a great addition to our growing knit pumpkin collection!

Tuesday, October 9, 2012

Indy's Jack-o-Lantern


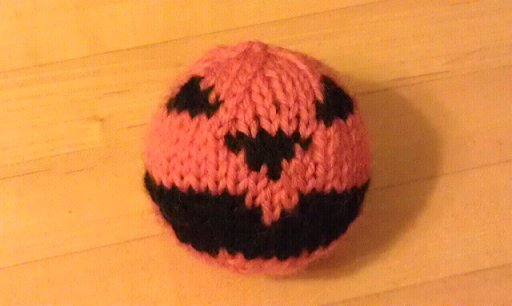
I've gone a little crazy this week knitting a bunch of pumpkins (stay tuned for future blog posts.) It is only natural that I design my own pumpkin creature for Halloween! This little pumpkin is for Indy, who we frequently call Pumpkin.


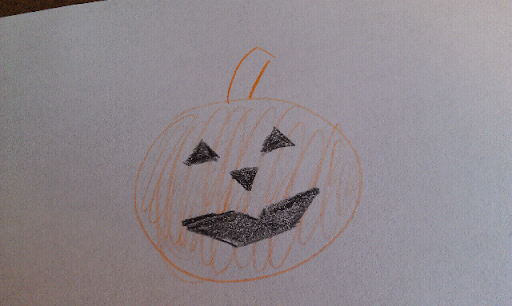
I took advantage of Indy's Blank Ball Chart to sketch out the jack-o-lantern face.  This was also an excuse for me to break out my colored pencils.  We moved them with us to Evanston and I hadn't hand a reason to use them yet.  


Note: With all handmade dog toys, please supervise your pet while he plays with them. Remove from the pet at any sign of damage.


Materials
  • Knitting Needles: 4 dpn Size 7
  • Yarn: Worsted 100% wool yarn. I used KnitPicks Wool of the Andes in Orange and Coal (black)
  • Gauge: Not important for the completed project
  • Misc: yarn needle, polyfill stuffing and materials for hand felting.
  • Optional: A dog squeeker left over from another toy. I save all squeekers from dog toys Indy has ripped apart.  
  • Finished Size: ~2.5" diameter (unfelted) ~2" diameter felted.

The Pattern
  • Cast on 6 stitches onto your double pointed needles. Join to knit in the round.
  • Follow the chart, where Round 1 is KFB across (12 sts.) For full written instructions of the increases and decreases, check out Indy's Toy Ball knitting pattern.
  • The colorwork starts on Round 7 and ends after Round 19. Don't forget to wrap the unused color during the really long floats. (Or you can cut the yarn after each long row and have may knots in the middle. Since this is going to be enclosed, no one will see how you finish it!)
  • When 12 stitches remain (Round 23), stuff the ball lightly with polyfill stuffing (Don't forget the ball will shrink with felting.) . If you are inserting a squeeker, stuffer half of the ball, insert squeeker and then finish stuffing.
  • When 6 stitches remain, break yarn and pull through remaining stitches. Stuff loose ends in the center of the ball.
  • Hand Felt the puppy toy to desired size.
  • Enjoy!

 
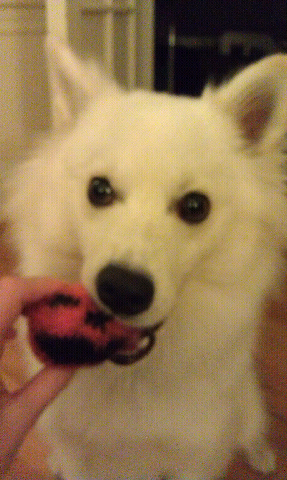
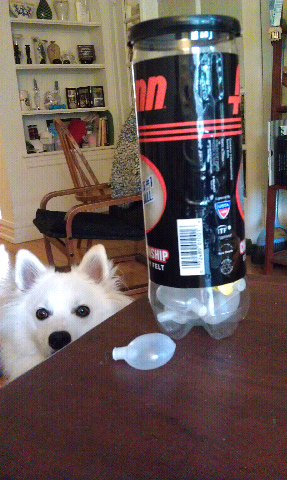
Indy waiting to get his ball.  He knows if he looked at it he wouldn't be able to keep waiting!


Unfortunately, when felting this Jack-o-lantern dog toy I squished the squeeker too much so it no longer squeeks.  It doesn't seem to matter because Indy still loves his new toy! 


---------------------------------------
Abbreviations Used in this pattern:
Kfb - increase by knitting into the front and back of a single stitch.
M1 (Make 1)- increase stitch by picking up yarn between two stitches, twisting and knitting.
K - knit
P - purl
I-cord - knit stitches on dpn's without ever turning the needle (effectively knitting in the round with a small number of stitches.)
SSK - decrease by slipping two stitches then knitting them together. Alternatively, you could slip one stitch, knit one stitch and pass slipped stitch over.
K2tog - decrease by knitting two stitches together.


This knitting pattern was created by ChemKnits for your personal or charity use. You are not to sell, distribute or reprint this pattern without the permission of ChemKnits. © 2012 ChemKnits

Saturday, October 6, 2012

Knit Your Own Cat

Knit Your Own Cat: Easy-to-Follow Patterns for 16 Frisky Felines by Sally Muir and Joanna Osborne is a strange book for me to choose, if only because I am not really a cat person. I found the companion book (Knit Your Own Dog) and was impressed by how realistic the patterns are. To my untrained eye, there is not a lot of variety in feline shape, but I was excited to flip through the book to see what different breeds look like.

The patterns include:
  1. Persian
  2. Ragdoll
  3. Main Coon
  4. Turkish Van
  5. Kittens* (two colors, white and tabby, are shared.)
  6. British Shorthair
  7. Devon Rex
  8. Abyssinian
  9. Burmese
  10. Bengal
  11. Siamese
  12. Orange (street cat)
  13. Black and White (street cat)
  14. Tabby (street cat)
  15. Black Cat (street cat)
  16. Tortoiseshell (street cat)
You will notice that 5 of the cats are street cats of different patterns.

I doubt I will ever knit my own cat, but you should be able to replicate your little friend with the help from this book! Like the dog companion book, this book has an excellent index with thumbnails at the end, but there are no knitting instructions. This is also not a book for beginners!

There is more difference in the shape of the cats than I initially expected. They are also knit into different poses, curled up, laying down and standing. Once again, the selection of yarns is pretty fantastic (and explained well), and these selections are really what help make the cat.

I cannot see myself knitting my own cat as Keith may be allergic to that version. (Just kidding!) I am glad that I took the time to flip through it. I hadn't really thought about the different shapes and sizes of cats before!

Wednesday, October 3, 2012

Stretchy Bindoffs

This year I have been knitting a lot of shawls.  These lacy creations have made me need to learn a bunch of new techniques for casting on and binding off.  Some designs need a firm edge, but sometimes you need a really stretchy bindoff so you can block your lace edge our properly.  I created two videos on my favorite stretchy bindoff techniques.


The Surprisingly Stretchy Bindoff (Hey, I didn't name it!)


K1, K2tog-tbl Stretchy Bindoff Method  

Monday, October 1, 2012

I made my own Niddy Noddy!

After you spin yarn, you need to get the yarn off of the spindle.  I suppose you could try winding it directly into a center pull ball, but you often need to set the twist (often with heat and water.  It seems similar to blocking to me...  but I am not an expert.)  There are commercially available niddy noddies on the market, but these can be ~$20 each, and you need niddy noddy for each size skein you want to create.


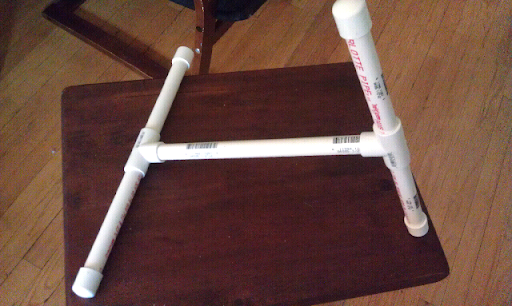
With $6.50 worth of supplies from Home Depot, I was able to create my own niddy noddy that can be changed into multiple different sizes.  I purchased three 2' pieces of 1/2" PVC pipe and cut them into 4- 6" pieces and 2- 12" pieces.  Other materials include 2 1/2" Streamline PVC SxSxS Tee Junctions, 4 1/2" Streamline PVC Caps and 2 1/2" PVC SlipxSlip coupling pieces.


 I wrote a tutorial to accompany the video on how I constructed this niddy noddy, available at AllFreeKnitting.