 |
| Isn't this web fun? |
I immediately started a Pinterest board and started looking up fun DIY Halloween crafts. One that I knew I wanted to try right away was this Glittery Web Table Decoration. It looks simple enough, right?

To start you don't need a lot of items, just glue, glitter and some wax paper.
I'm doing a smaller scale test of the craft now to see how well it works out. If I like it I might make some other glittery table decorations and allow Lucky to "help" me out. (Can a 22 month old really help with glue and glitter? Hmmm...)


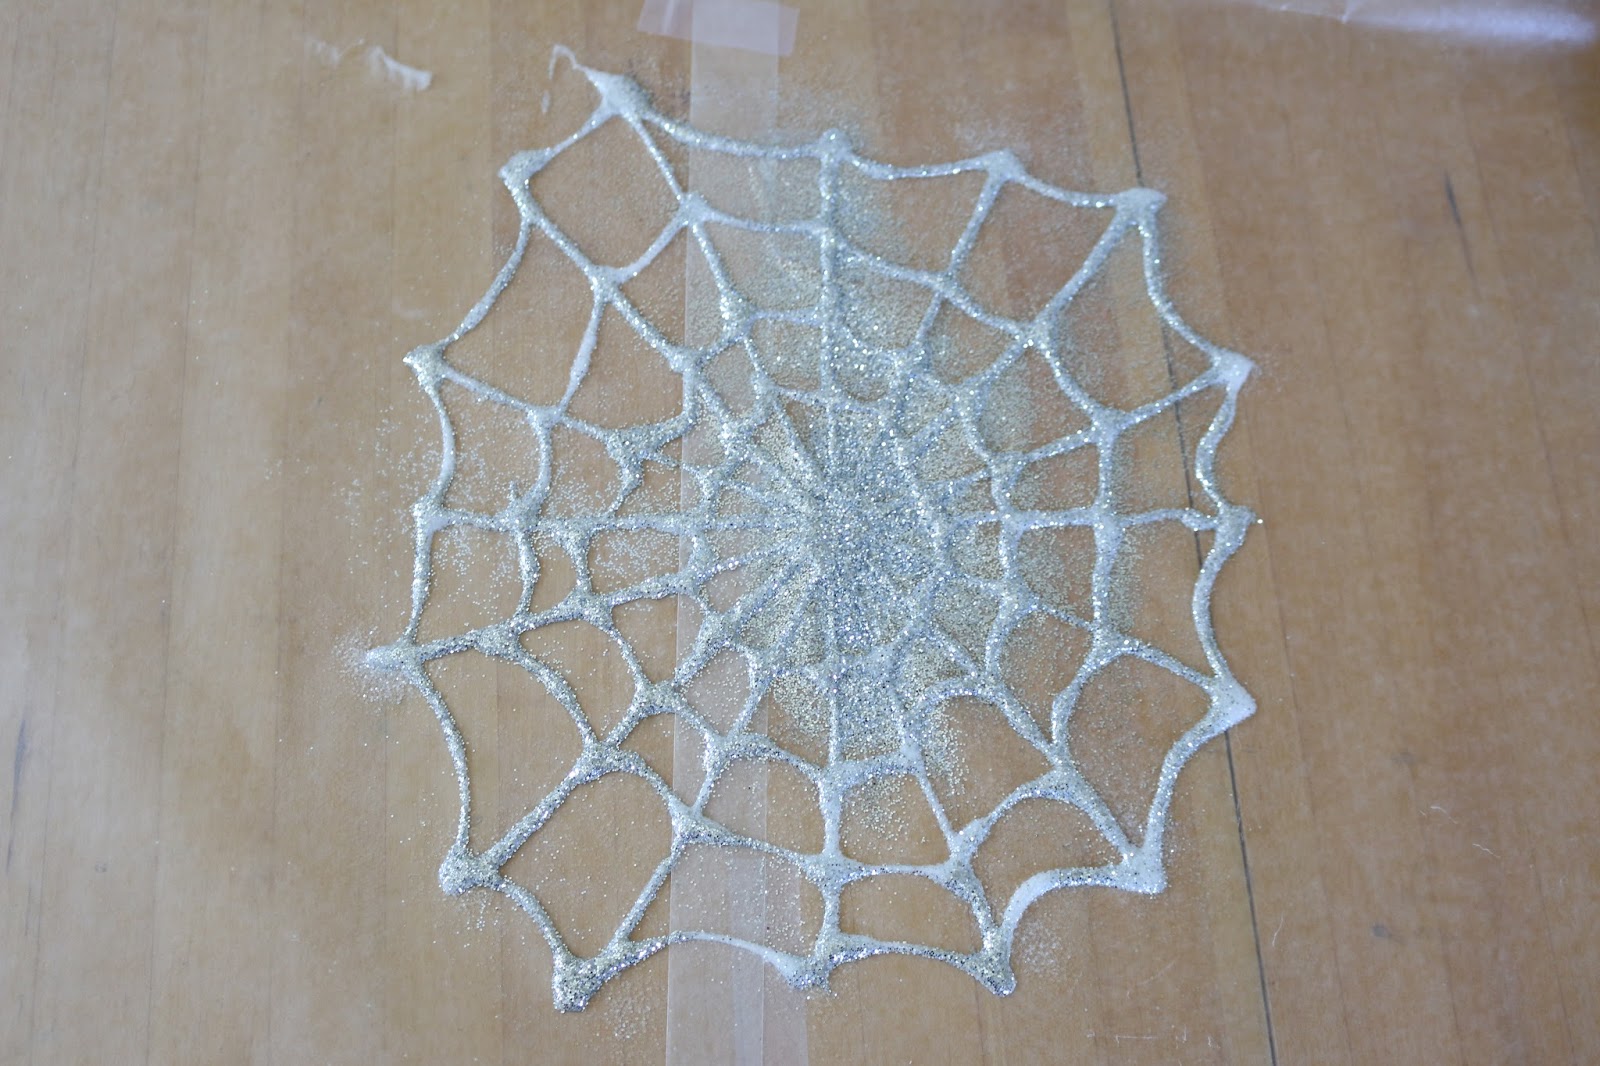
I taped two pieces of wax paper together (with the tape on the bottom) for a bigger work surface and started drawing a web with my glue. The instructions I was following recommended chilling the glue, but I found that it wasn't that runny at all. I started with a cross and then added more lines into the asterisk shape until I liked the density. (8 full lines, 16 spokes total)
I wish I hadn't taped the wax paper and didn't use a crease. Some of these spines aren't going to stick together well so I might have to do some surgery in the end to hold it together. We'll see. This is learning after all.

I started connecting the spokes with a swoop from the outside in. This helped me space things the way I wanted. I also found that the connections over the crease seem to be stronger now so maybe this will actually hold together.
 |
| silver glitter |
When I was adding the glitter I ran out of silver before I had completely covered the web. I added some white glitter to the missing spots and then shook the glitter around a bit to try to cover every part of my web.
 |
| silver and white glitter |
Right now it is looking awesome! Unfortunately I am now a the hard part: waiting. I have to wait 24 hours for this to dry before I shake off the extra glitter and then I have to wait another few days to peel off the wax paper. I also have to hope that my toddler doesn't pull this off of the dining room table and decide to roll around in it, I don't feel like cleaning glitter glue off of Lucky AND our newly finished floors! Despite my impatience, right now I think this web looks really fantastic!
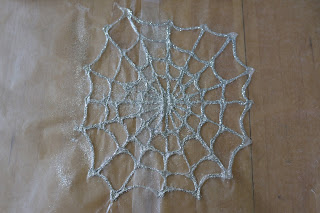

The next morning I tried to tap off as much glitter as I could. The web is pretty, although a little wrinkly in the center where there was the most glue. I love the sparkles! As tempted as I am, I am not about to try to peel the web off of the wax paper right now. I did sort of check a corner and it didn't feel like it would peel off easily... but I didn't really try because I didn't want to ruin it at this point when the instructions say to wait two days.

I ended up waiting more than two days to peel off the web because I wanted to have enough light to photograph it and I didn't want to do it while the toddler was around (he was quite attracted to it, I was afraid we were going to get a glitter explosion!) The first bit was really easy to separate from the wax paper.
I had a few breaks in the web overall, but ultimately it looks pretty intact when laying on a table!

I wasn't sure how I was going to store this delicate web, so I put it on a sheet of cardboard and sealed it in using plastic wrap. Now I can store it gently until the party in 2.5 months!

I had a few breaks in the web overall, but ultimately it looks pretty intact when laying on a table!

I wasn't sure how I was going to store this delicate web, so I put it on a sheet of cardboard and sealed it in using plastic wrap. Now I can store it gently until the party in 2.5 months!

You may wonder why I take so many step by step photos when I'm doing something that has a written tutorial. The true answer is that it is for my own memory. There have been times when I've wanted to re-create a craft but couldn't remember what size canvas or paint color I used and I've been able to turn back to the blog to find out the brands that I used. ChemKnits started out as my crafting lab notebook, after all.
