I am pleased to share that I just opened up preorders for the 2024 Summer Mini Skein Mini Series! This annual event will have multiple yarn dyeing videos that are published nightly starting Monday July 8, 2024. You will watch me dye mulitple different sets of miniskeins on a variety of yarn bases, plus there will be some bonus dyeing videos, too.
2024 SMSMS Yarn Sets
There are multiple different yarn bases to choose from your your miniskein set. Each set of 5 - 20 g miniskeins will be dyed within one video. All sets will arrive wrapped and labeled with the date and episode number of the video so you know when you can watch the dyeing. Each yarn set also comes with mulitple fun extras, and the theme of the packaging this year is adorbable and ties into the theme for this year. (The theme isn't based around the colors, but more around the techniques I plan to feature.)
You can add more yarn to your miniskein set! At this time these add on options are only available to customers who purchase a miniskein set. All extra skeins come wrapped with a progress keeper and will be labeled with the date they're featured in a video. There are three different categories of Add ons this year:
Add on Full Skein - These 100 g skeins of yarn are dyed as a bonus colowray for the series, and are dyed in their own dedicated video. All three bases will be dyed the same colorway, although there may be some dye lot variation. The yarn bases include:
100 g Sock 80/20 2-ply (80% superwash fine highland wool / 20% polyamide)
100 g Superwash DK 8-ply (100% Superwash Merino)
100 g SW Worsted HT 3-ply (100% Superwash Merino)
Add on Sock Blanks - I will dye some sock blanks in the miniskein videos themselves, but I may also do a sock blank stand alone video. There will be a variety of colors within blanks of even one base. I will do my best to send you a sock blank featured on a different night from your miniskein set, but this may not be possible. The yarn bases include:
Add on "Yarn Mop" - this will be a 100 g skein of yarn dyed in one of the miniskein dyeing or bonus dyeing videos. This might be a prototype, bonus colorway, leave no dye behind, or more classic "yarn mop" skein. I will do my best to send you a yarn mop /bonus skein featured on a different night from your miniskein set, but this may not be possible.
Yarn Bases: Pick between Sock, DK, or Worsted Weights. There will be some variation in the base itself, but all yarn will be superwash Merino based with up to 30% nylon.
When will I get my yarn?
I will ship out the 2024 SMSMS Yarn in the middle of June 2024. The videos begin on July 8, 2024. Once the videos are public, you can find them in the following YouTube Playlist: https://tinyurl.com/2024-SMSMS
The yarn base I wanted sold out! Will you restock them?
I intend to dye more yarn than I orginally list in the 2024 SMSMS preorders. If the yarn base for a SMSMS yarn set sells out, please reach out to me on Etsy and let me know. I will order more yarn if I can and do a restock once I have more of that yarn base on hand.
I also typically hold back some inventory until I've shipped out all of the preorders, so there is usually a restock closer to the shipping dates.
Can you combine shipping on mulitiple orders?
No. Due to the volume of orders, I cannot combine shipping on multiple orders. However, if you have already purchased a mini skein set in one order, you can place an order for add-ons in a separate order. (You do not have to order a second mini skein set unless you want to!)
I'm so excited!
I'm not announcing the loose theme I have for this year, as the theme has more to do with part of the techniques and dyeing process (and the packaging for the yarn) than it does the actual colors. Expect some sets composed of tonals and others that are more variegated. There should be a lot of variety!
------------------------
This announcement was also published on the ChemKnits Patreon. You can follow me over there for free to get public announcements sent to your email, or you can join as a Patron and get some cool perks.
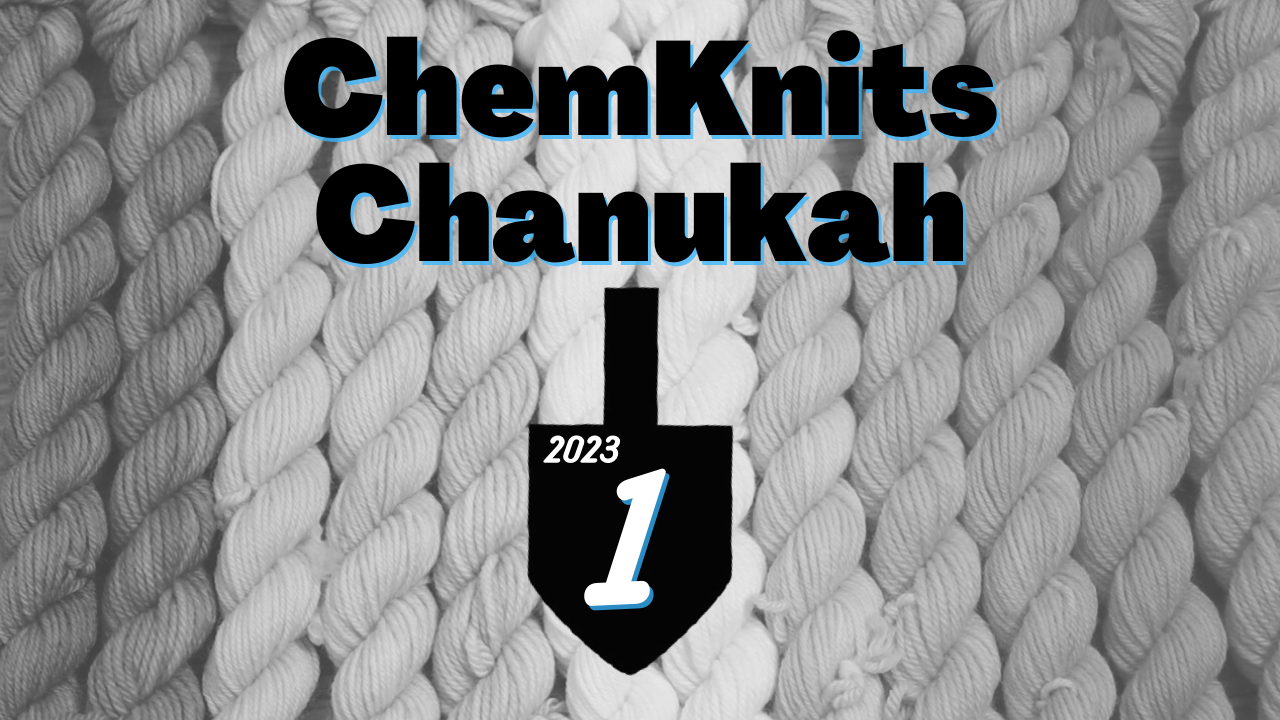
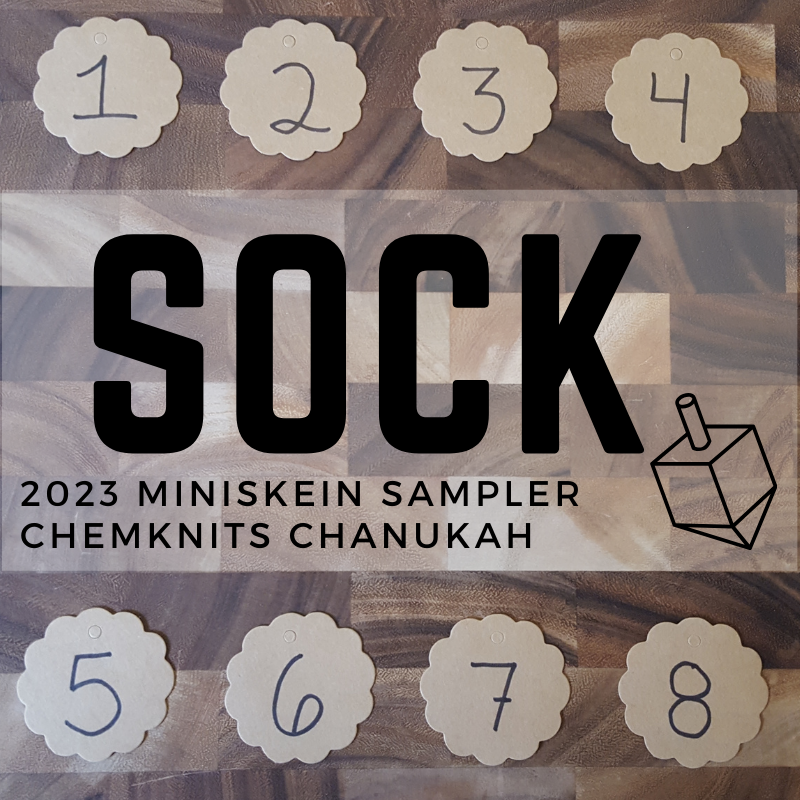
Welcome to the 2023 ChemKnits Chanukah Special! Every night of Chanukah (plus a few nights beyond) there will be a new yarn dyeing video on the ChemKnits Tutorials YouTube Channel published at 8:30 PM Eastern Time. These nightly videos will run from 12/7/23 - 12/17/23.
At 8:30 PM Eastern Time each new Chanukah Special video will air as a live premiere on YouTube. The premiere comes with a live chat room so you can chat with me and we can react to the video and the yarn together. The video will be available on demand once the premiere ends. For planning purposes, here are the approximate lengths of the videos and what nights I will not be part of the live chat.
At 8:30 PM there is a couple minute countdown before the premeier begins. These runtimes are approximate. Most videos are between 30-45 minutes long.
This is my 40th birthday, so I will likely not be in the live chatroom.
12/14 Night 8 - Runtime ~33 minutes
12/15 Bonus Night 9 ~42 minutes
12/16 Bonus Night 10 - Runtime TBD
I will not be in the live chatroom for this saturday night livestream.
12/17 Behind the Scenes Vlog - Runtime TBD
There is still some 2023 Chanukah Yarn available in the ChemKnits Creations Etsy shop! There are a handful of sock yarn samplers and some bonus skeins. Keep your eye out for other shop launches during the Chanukah Special!
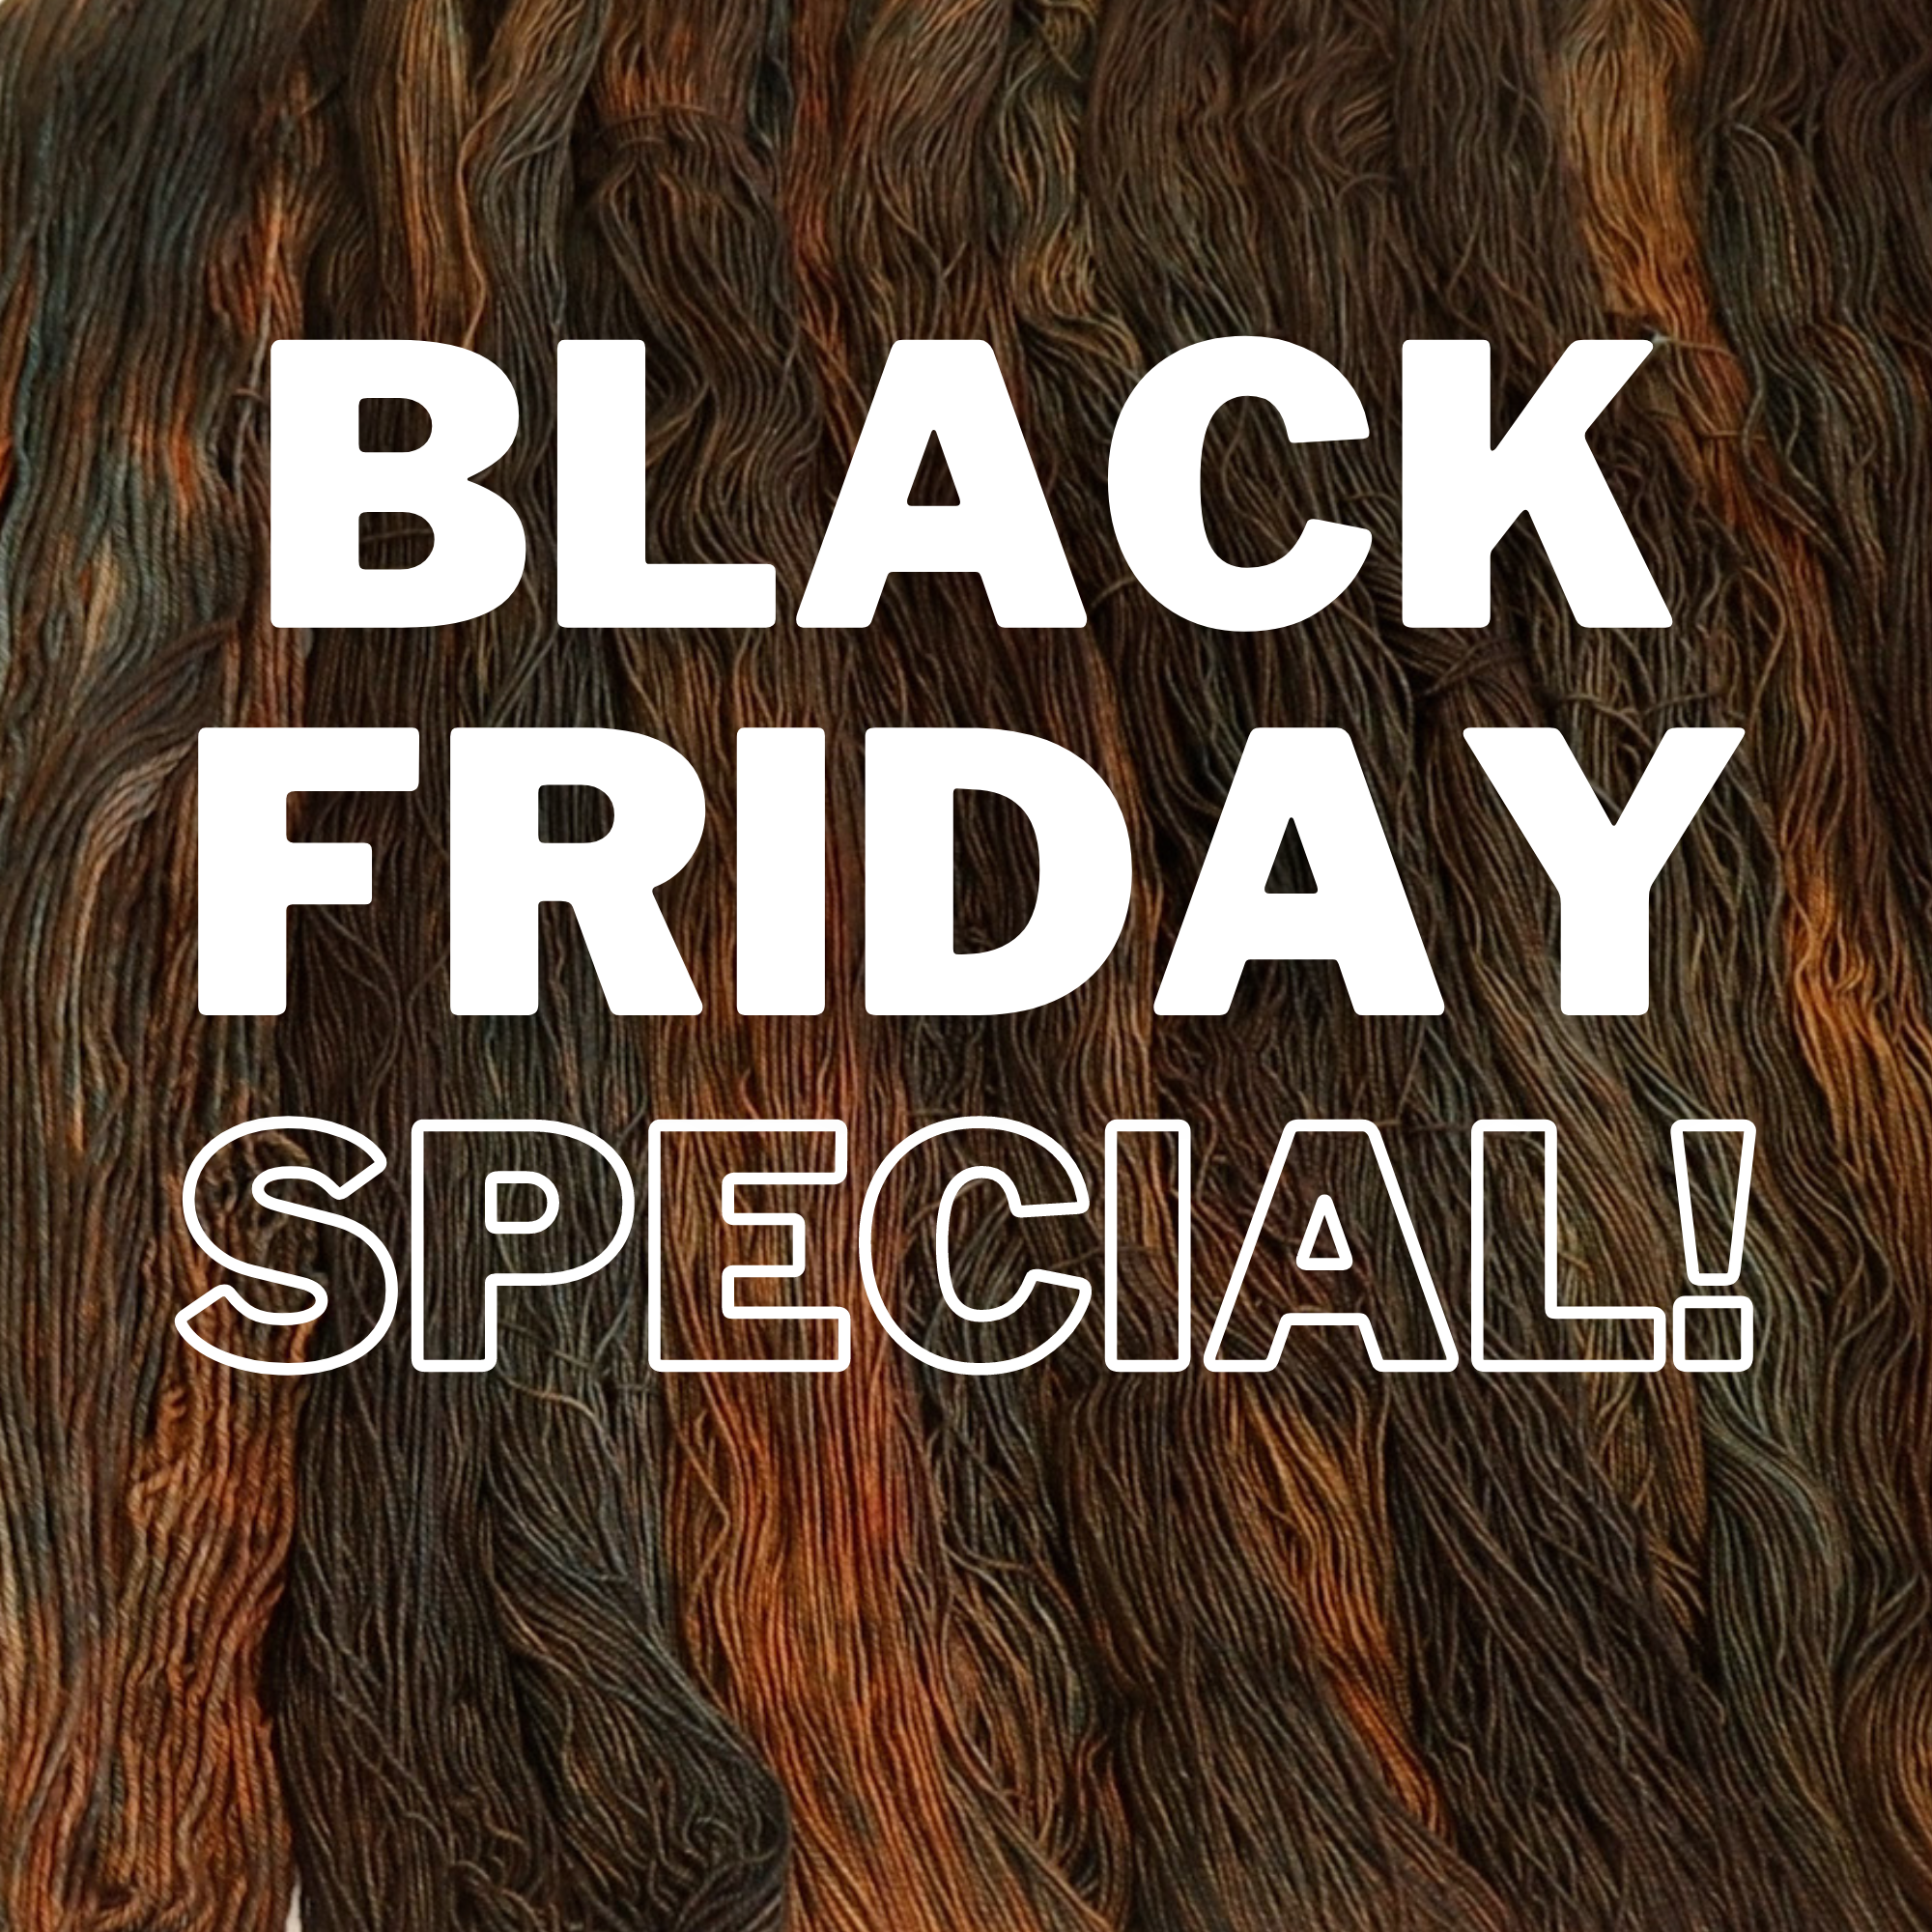
The ChemKnits Creations Black Friday sale is here! Over 100 colorways are 25% off plus there are some fun mystery bundles available.
This sale ends 11/27/23 at 11:59 PM EST or while supplies last. Prices are as marked deals are available while supplies last - some deals are more limited than others. Etsy doesn't let you use coupon codes on top of sale items, so check to see which will give you the biggest discount.
Extra Special Black Friday Deals
Buy a 100 g skein of the 2023 Black Friday Colorway and you can add a mystery skein of yarn for just $10! The mystery skein will be a surprise yarn weight (lace - jumbo), surprise fiber content (will be at least 50% animal fiber), and could either be superwash or nonsupewash. (Mysteryskeinsmaycomefromcurrentshopinventory and will randomly be added to the orders.Therearenoprogresskeeperswiththismysteryskein.)Watch the video to see me dye the 2023 Black Friday Colorway and to hear me chat more about all of these deals.
300 g Mystery Yarn Bundle - Buy a drawstring canvas project bag and I will stuff it with 300 g of mystery yarn and fun extras. Full retail value is over $100. You can pick between sock weight (superwash), DK weight (Superwash) or Worsted Weight (non-superwash) but the colorways will be a complete suprise. This isn't intended to be a fade set, so the yarn may or may not coordinate together.
Stitch Marker Bundles! A small organza bag with 6 stitch markers in a susprise mystery bundle. All of the progress keepers have lobster claw clasps that are either silver or gold colored. The charms may overlap with past samplers (SMSMS, Valentine's Day, Chanukah) but will NOT overal with the 2023 Chanukah Sampler extras.
You can find all of these special listings under the "Black Friday" shop tab. Sale yarn up to 40% off can be found under the "On Sale" Tab.
All of these deals are available while supplies last or thought Monday 11/27/23 at 11:59 PM Eastern Time. Unfortunately Patreon coupons do not work on items that are already discounted, Etsy will override the sale price to use the coupon. So please check to see which is a better discount!
Chanukah Samplers!
You can still order a 2023 Mystery Chanukah Yarn Sampler! These are ready to ship and come with 8 wrapped packages of hand dyed yarn featured in dyeing videos releasing each night of Chanukah.
Shipping
Due to the volume of orders on Black Friday / Cyber weekend, I cannot combine shipping if you place mulitple orders. Thank you for understanding! All Black Friday orders will start shipping Tuesday 11/28/23. I will ship Chanukah Samplers out first thing Monday 11/27/23 so hopefully they will arrive in time for Chanukah to begin.
Watch me dye the 2023 Black Friday Yarn
I published this new YouTube video at 8:30 AM on Friday 11/24/2023 to show off the dyeing of the special Black Friday colorway.
Other Black Friday Yarn Deals
The following list includes affiliate links to KnitPicks, WeCrochet, KnitCrate, and Paradise Fibers, and I make commissions from purchases made through these links.
KnitPicks & WeCrochet - Save 25% off sitewide with the code "THANKS25" 11/23/23 - 11/24/23 for Black Friday! See websites for full details.
Which site should you shop with? There are a few things to make the decision:
WeCrochet has a lower minimum for free shipping ($45 in the US) vs KnitPicks ($65 for US customers.)
KnitPicks has bulk bare yarn discounts
WeCrochet carries Lion Brand Yarn
There are some other exclusive tools and patterns that vary between the websites, too.
This coupon code stacks with bulk bare yarn purchases! If you purchase a 20 pack of bare yarn (see the individual yarn listing for this option), those are marked down at 15% off. When you add the Black Friday coupon, you get a total discount of 36%!
Save 20% off KnitPicks and WeCrochetSitewide with the code "CYBER20" Saturday 11/25/22 through Monday 11/27/22. See websites for full details.
The 2023 KnitPicks Big Sale is here! Select skeins of yarn are up to 60% off starting 11/8/2023 and going through 11/21/2023. In this blog post, I will keep track of the 2023 discounts and special deals, share my picks for the best discounted bare yarn bases, and talk about my general shopping strategy for both KnitPicks and WeCrochet. I do this every year, and I'm excited to see what the 2023 KnitPicks Big Sale has in store for us! I will update this page daily during the big sale to keep track of the current offers.
I am a KnitPicks & WeCrochet affiliate marketer, so the links in this post are affiliate links and I do earn commissions on sales made through my links. This post was most recently updated 11/23/2023.
What is "The Big Sale"
Every November leading up to Thanksgiving, KnitPicks has a huge sale over a couple of weeks full of many different discounts (hundreds of yarns up to 60% off), mark downs, coupon codes, freebies, and more. Occasionally they even release new yarn bases! In the past these new yarn bases have included limited edition ("special reserve") bases, "Oops" colorways of Chroma, new bare yarn bases, and more. I always have my fingers crossed for new bare yarn bases.
Some of the Big Sale deals span multiple days, and others are only avilable for a day or two. Of course, I write this assuming that this year's Big Sale will be similar to 2022, which I cannot say for sure. KnitPicks and WeCrochet carry a lot of similar items, and usually individual products that are on both websites are marked down the same amount. However, there are often different coupon codes and order minimums between the two sites which is why I will be sharing both here.
Active Deals at KnitPicks and WeCrochet
The Big Sale has a combination of discounts that last the entire sale, weekly specials, and deals that are only valid for 1-2 days. In years past I would keep a running list of all of the active deals and discounts, which gets long and harder to look through. In 2023, I will post the current active deals here, and then archive them down at the end of this blog post once there are new specials. There are often similar deals at both KnitPicks and WeCrochet, but some of the details (such as minimum orders for free shipping) can be slightly different. Some of my favorite freebies from the past enclude enamel pins and project bags.
Please note that most coupon codes are limited to one use per customer, so you can only get one freebie. (However, you can make purchases at both KnitPicks and WeCrochet!) Make sure you see the store websites for full terms and conditions.
KnitPicks Active Deals
Daily Deal:The KnitPicks Big Sale is over for 2023, but there are Black Friay deals! See the archive below.
Weekly Deal: Free Snap Bag with KnitPicks $100+ Purchase using the code "KPSNAP23" 11/20/2023 - 11/26/2023 or while supplies last. I haven't touched this bag yet, but I did order one that hopefully will arrive before this promo is over so I can tell you all about it.
Always Deal: Free Shipping on KnitPicks orders over $65. (No coupon code required. This stacks with the above offers.)
WeCrochet Active Deals
Daily Deal: The WeCrochet Big Sale is over for 2023, but there are Black Friay deals! See the archive below.
Weekly Deal:Free Snap Bag with WeCrochet $75+ Purchase using the code "FREESNAP23". Offer valid 11/20/2023- 11/26/2023 and while supplies last. I have a sample of the KnitPicks snap bag on the way, but it looks like a mesh bag which will allow you to separate different yarns for colorwork, I'm super excited to see what it's like!
Always Deal:Free Shipping on WeCrochet orders over $45. (No coupon code required. This stacks with the above offers.)
What is coming next?
In my Big Sale shopping livestream on 11/8, I did a small unboxing of an order and found an awesome surprise - a calendar for the KnitPicks Big Sale! This shows all of the weekly deals that will be coming up, what days we can expect to find daily deals, and confirmation of a 25% off sitewide sale for Black Friday 11/23-11/24 and a 20% off sitewide cyber monday sale 11/25-11/27. WeCrochet weekly deals may be different.
So what is coming up? After the free project bags there will be free travel sets, then a snap bag, then a chart keeper all with a minimum of $100 KnitPicks purchase. I'm happy to be able to plan.
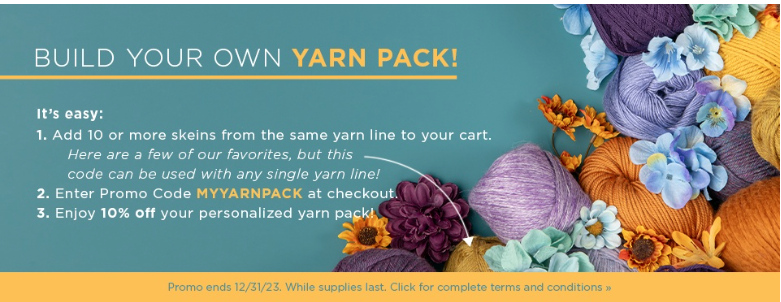
Build Your Own Yarn Pack
At both KnitPicks & WeCrochet, you can use the coupon code "MYYARNPACK" for 10% off 10 or more skeins of a single yarn line. In 2022 the equivalent coupon code stacked with Big Sale mark downs, so it is worth trying out again. Remember that you can only use one coupon code per purchase. Most coupon codes are limited to one use per customer, but I think this build your own yarn pack coupon can be used on multiple orders.
KnitPicks Black Friday Coupons? My Big Sale Shopping Strategy
The KnitPicks Big Sale typically ends before Thanksgiving (11/23/2023). This year the big sale ends 11/21/2023. Historically there is a discount coupon on Black Friday, and then a smaller coupon off of your entire purchase for the rest of cyeber weekend. In 2021 and 2022, KnitPicks had a 25% off coupon for Black Friday and then 20% off coupon for the rest of cyber weekend. We cannot guarantee that these discounts will be available in 2023, but I base my Big Sale shopping strategy around the potential of site wide coupons towards the end of the year. EDITED 11/9/23 - I found a postcard in a recent order that confirmed the discounts will happen for 2023! See above in this post.
Save 25% off KnitPicks and WeCrochet sitewide with the code "THANKS25" 11/23/23- 11/24/23 for Black Friday! (affiliate links) See websites for full details.
Should I order then yarn I want now or wait for Black Friday?
I typically will purchase yarn that is 30%+ off during the Big Sale and then wait in case there is a coupon code later for full price items or items that are 20% off or less - if it is something I want to buy in bulk. If you have yarn you need for a specific project, go ahead and buy it now! I buy hundreds of skeins of yarn a year for the ChemKnits Tutorials YouTube Channel where I film yarn dyeing videos so I am always looking to maximize the savings I get on bare yarn.
On the Retail KnitPicks website, you can save 15% off bare yarn if you buy a 20 pack. (The available 20 packs are now on each individual bare yarn listing page versus all being in one place.) If you have a 20% off coupon and use that on your bulk bare yarn purchase, you have a 28% savings from the retail price. If you have a 25% off coupon and stack that on the 20 pack 15% discount, you save ~36% off of retail price. This is why I will typically purchase the yarn I want that is marked down at 30% off or more for the Big Sale.
Note: Bare yarn is available at WeCrochet again, there was a period of time when it was no longer listed here. Unfortunately I have not found any options for a bulk 20 pack of bare yarn on the WeCrochet website, so I recommend ordering your bulk bare yarn through the KnitPicks retail (or KnitPicks Wholesale website.)
Should I purchase everything in one order?
This is your call, but I typically place multiple orders during the Big Sale at both KnitPicks and WeCrochet, depending on the special deal. (I have a collection of project bags, pouches, and enamel pins from past Big Sales. I adore them!) The KnitPicks Big Sale comes with a lot of discounted products, but then there are also coupon codes in the daily and weekly deals. You can only use one coupon code per purchase. I tend to make a list of what I want to purchase at the beginning of the big sale and then place multiple orders while I wait for a good freebie or even the coupon that historically comes on Black Friday.
My goal is to hit the free shipping minimum with every purchase. I order a LOT of yarn, and tend to stock up on the materials for my videos during the Big Sale. At WeCrochet you get free shipping on orders of $45+ in the US, and at KnitPicks you get free shipping on orders of $65+. There are minimums for free shipping to Canada, the UK, and Australia, but those minimums are higher. This strategy may not be for everyone - as I mentioned I order hundreds of skeins of bare yarn a year so I am always looking for good deals.
My first order (left) so I could get a free project bag.
Other items I want (right) that I plan to order later.
New Yarn Bases!
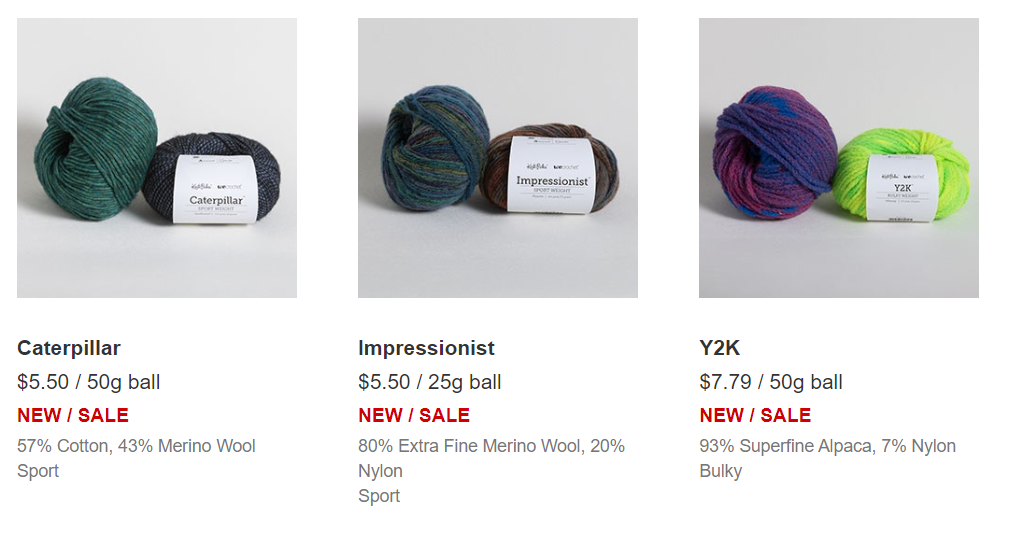
In the middle of the 2023 Big Sale KnitPicks released some NEW yarn bases! I almost missed this. These don't appear to be limited edition or "special reserve."
I plan to pick a few of these new bases up in my next order. Caterpillar is 57% Cotton, 43% Merino Wool Sport weight. It has some stunning barber polling in some of the skeins. Impressionist is 80% Merino / 20% Nylon, also sport weight. I'm not entirely sure why these are sold in 25 g balls of yarn, this makes me raise my eyebrows as full price is $11.99 / 25 g. I'm a little disappointed because it looks so soft and fluffy.
Y2K Is a new bulky yarn line that is 93% Superfine Alpaca / 7% Nylon and the names of the colorways made me giggle. I think that I first discovered these yarn bases in a livestream on Friday 11/17. Names include "Fetch" "Whassup" "Chillax" and "Lowrise Jeans" and this Oregon Trail Generation / Elder Millenial is dyeing to see what this feels like. It looks like there is a chain construction, which feels perfect for bringing up memories of making icords in my childhood.
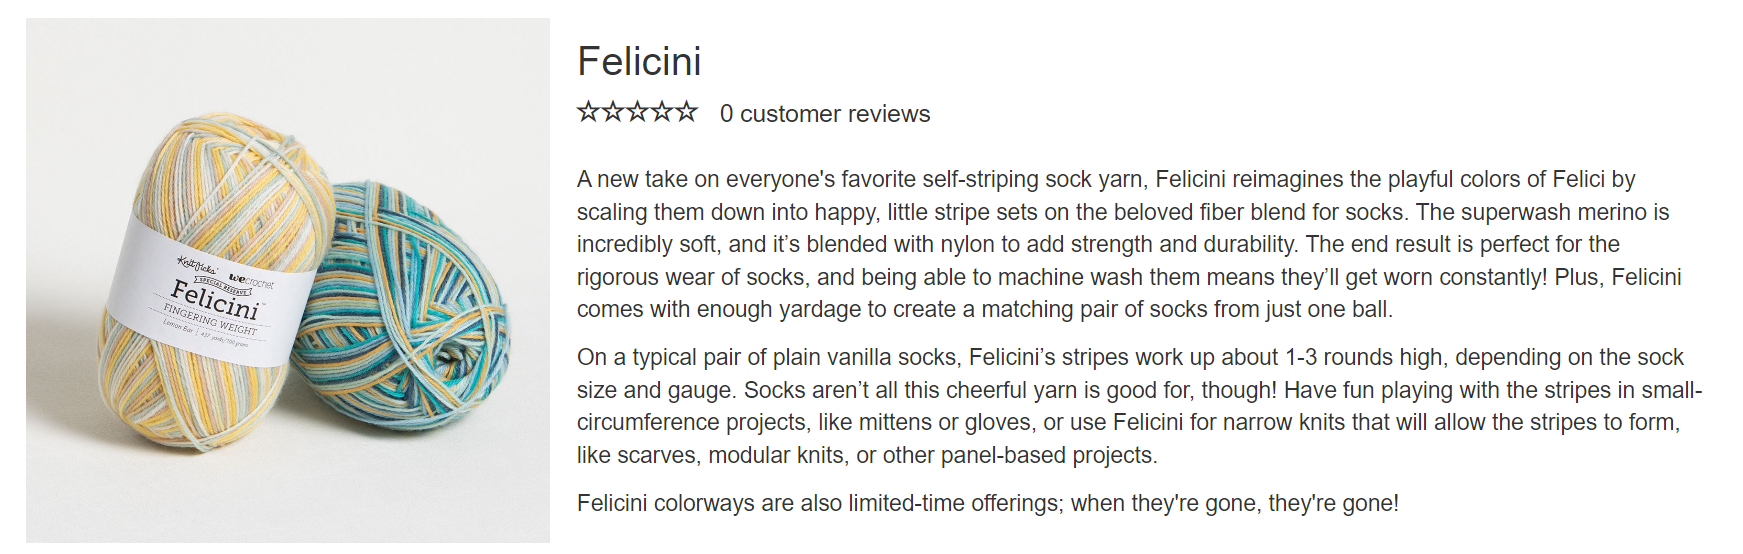
Finally, there is Felicini, the sibling of the popular self striping line Felici. I tihnk Felicini (also 75% Superwash Merino / 25% nylon) has smaller stripes and it also comes in a 100 g ball of yarn so you don't need to get multiple for a full pair of socks.
The most important thing is that Future Rebecca needs to remember that new yarn lines can drop in the middle of a sale and surprise us all. Fingers crossed that in 2024 there will be some new bare yarn lines.
Coming Soon - screenshots of my personal shopping cart!
50% Off Bare Yarns
Bare Hawthorne - This is one of the yarn bases that I have dyed the most of. This sock yarn is 80% Superwash Fine Highland Wool / 20% Polyamide. It is 2-ply and dyes up like a dream.
Bare Capretta Superwash - This fingering weight superwash MCN yarn (80% Fine Superwash Merino Wool, 10% Cashmere, 10% Nylon) is a favorite of mine. This is a SUPER good price for the yarn base!
Bare Andean Treasure - This DK weight yarn is 100% baby alpaca and is incredibly soft. I have plans to make myself a whole hat, glove, and cowl set out of this base if I can ever get around to it.
Bare High Desert Worsted - I'm not sure if I've dyed this 100% American Grown Wool non-superwash yarn yet, but I have always wanted to.
Bare Luminance - 100% Silk Lace Weight yarn. This yarn is a delight to dye, but since it is expensive usually ($25.99 / 100 g full price) it is hard to experiment with. I will be picking some up for sure.
Bare Stroll Sock Blanks - Stroll is the yarn base I have purchased more of than any other base ever. It is 75% Superwash Merino Wool / 25% Nylon. These sock blanks are double stranded and stand up to dyeing really well without unraveling. I love that these are $10 each right now!
Bare Hawthrone Sock Blanks - These double stranded sock blanks are knit with the same Hawthorne I mentioned above. For $10 each, this is a great deal!
Bare Gloss Roving - 70% Merino Wool / 30% Silk Roving. I actually have some of this presoaking in my kitchen right now as I'm getting ready to film a new epsiode of Dyepot Weekly focused on this delicious blend.
Bare Stroll Roving - 75% Superwash Merino Wool / 25% Nylon roving. There is now Swish Roving (which doesn't look like it is on sale) as a 100% SW Merino option, but before that the stroll roving was the only superwash option KnitPicks offered.
40% Off Bare Yarns
Bare Swish Bulky - 100% Superwash Merino wool, this is a bulky version of one of my favorite DK weight yarn bases.
Bare Paragon - Always a favorite luxe yarn. This sport weight base is 50% Finer Merino / 25% Baby Alpaca / 25% Mulberry Silk.
Bare Reverie - 80% Baby Alpaca 20% Acrylic Brushed. I'm not sure if I've dyed this blend before myself... Why haven't I done it yet?
Bare Stroll Sport - 75% Superwash Merino Wool / 25% Nylon. I don't dye sport weight yarn very often at all, but I do have some of this on hand for requests. The fingering weight version of stroll is the yarn I dye more than any other yarn.
Bare Lindy Chain - this is a fun blend for yarn folk who love working wtih plant fibers. This is a chain plied 70% Linen 30% Pima Cotton fingering weight yarn.
Simply Alpaca in Alaina - 40% off This 100% Alpaca yarn isn't marketed as "Bare Yarn", but the whole line is spun out of natural Alpaca colors. It dyes up beautifully!
Bare Merino Style DK - a great option if you want a 100% merino non-superwash yarn.
Bare Capretta - 80% Fine Merino Wool / 10% Cashmere / 10% Nylon I tend to go for the superash version of this yarn (which is 50% off for the big sale), but the non-superwash is also a dream to work with.
Bare Wool of the Andes Superwash Worsted & Bulky - I consider Wool of the Andes to be my workhorse yarn. It is inexpensive and wonderful for hats and other projects. The superash versions (100% Superwash Peruvian Highland wool) are great for if you want something washable.
Bare Hawthorne DK - 80% Superwash Fine Highland Wool / 20% Polyamide. It is 2-ply and dyes up beautifully.
30% Off Bare Yarns
Super Bulky Soft - Super bulky 70% Superwash Wool, 30% Superfine Alpaca. I adore this yarn, I have dyed and knit myself two hats with this yarn base. It is super warm and holds up well during wet snowy weather.
Bare Twill - this is a heavy worsted weight bounch 100% Superwash Merino wool yarn. There are only 149 yards / 100 g, but this was plenty to make my 10 year old a stunning hat (that also fits me.) This yarn is so bouncy and is fantastic for glazing.
Bare Wool of the Andes Roving - this 100% Peruvian Highland Wool Roving is very forgiving and great for your first journey into dyeing roving. I enjoy spinning and dyeing this a lot.
Bare Cotton Boucle - 100% Tanguis Cotton. This 2 ply yarn has one thick ply and one thin ply, giving a very subtle boucle effect. I love how this yarn takes up color and I dye it up a lot myself.
There are some deeply discounted yarn bases that I have left off of this list (I'm looking at you Muse Sock), and mainly because they're not bases I am considering purchasing myself this big sale. I've tried to limit this list to my favorites. Any yarn I listed above that isn't in my shopping cart right now would be because I already have a lot of it in my stash!
I also left any of the discounted mini samples from the list. KnitPicks offers 10 g miniskein samples of some popular bare yarn bases for $1.50 each (full price.) These are samples versus bulk packages of miniskeins. They are great to purchase if you want to test out a yarn base without committing to a full hank, but they are not an option for buying the yarn in bulk. If you want to find the samples available, sort the bare yarn page by price low to high.
I am anticipating that the individual discounts overlap between the KnitPicks & WeCrochet Big Sales, but I'll update if I notice any differences.
If you want to easily find the best bare yarn deals - I recommend clicking on the 50-60% off category on the big sale page, and then sorting items in alphabetical order. Most bare yarn at KnitPicks starts with "Bare" at the beginning - so this is a great way to see the biggest discounted skeins all in one place. (There are a few yarn bases that do not have Bare at the start of the title, but you can usually find those on the Bare Yarn page.)
If you are interested in dyeing your own yarn, you don't have to limit your deal hunting to bare yarn bases. You can overdye almost anything, as long as the base color isn't too saturated. I have a whole playlist on YouTube dedicated to overdyeing yarn. Typically I would recommend pastel colors for overdyeing, especially if you plan to dye yarn with food coloring.
Big Sale Shopping Strategy Livestream
2023 Big Sale Unboxing!
Streamed 11/20/2023 at 1:30 PM Eastern Time on YouTube
2023 Weekly Deals - Archive
This archive is in reverse chronological order, with the most recent daily deals first. Check the dates to see if the newest deals are still active.
Free Snap Bag with WeCrochet $75+ Purchase using the code "FREESNAP23". Offer valid 11/20/2023- 11/26/2023 and while supplies last. I have a sample of the KnitPicks snap bag on the way, but it looks like a mesh bag which will allow you to separate different yarns for colorwork, I'm super excited to see what it's like!
Free Snap Bag with KnitPicks $100+ Purchase using the code "KPSNAP23" 11/20/2023 - 11/26/2023 or while supplies last. I haven't touched this bag yet, but I did order one that hopefully will arrive before this promo is over so I can tell you all about it.
Free Travel Set with $75+ WeCrochet Purchase with code "FREETOOLS23" 11/13/2023 - 11/19/2023. Limit one per customer while supplies last. This set includes a zipper pouch, a tape measure, foldable scissors, a sticky note pad, and locking stitch markers. I don't have this exact travel set myself, but I do have some of these zipper pouches and really like them. This freebie was still in stock 11/14. As of 11/17 I cannot find this on the website anymore, so I think it sold out.
Free Travel Set with $100+ KnitPicks Purchase with code "KPTRAVEL23" 11/13/2023 - 11/19/2023. This is different (but similar) to the free travel set I got in 2022. It comes with a zippered pouch (I have some of these pouches and they're really nice) filled with an emergency fix keychain crochet hooks), row counter, wire yarn stranding guide, split ring stitch markers, and a tape measure. As of 11/14 this may be sold out, I got a "code sold out" or similar error when I checked out.As of 11/17 this has been removed from the website and replaced with the free calendar code from below.
Free Project Bag with $55 WeCrochet Purchase 11/6 - 11/12/23 with code "FREEBAG23". Limit one per customer. See the WeCrochet website for full terms and conditions.
Free Project Bag with $75 KnitPicks Purchase 11/6 - 11/12/23 with code "KPBAG23". Limit one per customer. See the KnitPicks website for full terms and conditions
Free Calendar with $55 WeCrochet Purchase using code "FREECAL23" 10/30- 11/5/2023. Technically this deal took place right before the Big Sale started, but I wanted to include it because it is a promo that was included during the Big Sale in the past. Plus it shows that deals and special offers started before the official launch of the sale yarn.
Free Calendar with $75+ KnitPicks Purchase with code "KPCAL23". 10/30-11/5/2023. Technically this deal took place right before the Big Sale started, but I wanted to include it here so I will remember that deals started before the official 2023 Big Sale launch in 2024.
2023 Daily Deals - Archive
This archive is in reverse chronological order, with the most recent daily deals first. Check the dates to see if the newest deals are still active.
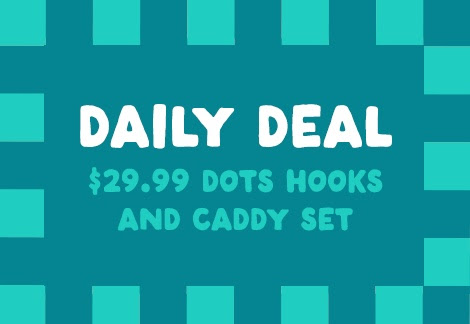
$29.99 WeCrochet Dot Hooks & Caddy Set (See Below). 11/20/2023 - 11/21/2023 (The Last Day of the Big Sale!) I have a set of bright hooks from WeCrochet that have a soft rubber handle that feels like it would be very comfortable. I'm assuming that these ones might have a similar feel, but I haven't tried them personally.
$5 KnitPicks Exclusive Ebooks 11/20/23 - 11/21/23
$12 Ball Winders and $40 Swift/Winder Sets at WeCrochet. 11/18/23 - 11/19/23
25% Off KnitPicks Interchangable Needle Sets 11/18/2023 - 11/19/2023. I love the wooden interchangable needles, I almost exclusively knit all of my projects with these sets. I love the ergonomics of the foursquare line, but all of the wooden ones are my favorites.
40% off WeCrochet Totes & Cases 11/16/23 - 11/17/23. I own a lot of these bags. The Everyday tote bags are a favorite of mine - the fabric on the inside has a crochet hook pattern. I also own a swift case, a hook case, some of the zippered pouches, and some canvas tote bags, too. Many of these were freebies in previous big sales, but others I purchased myself. 40% off is a great price!
$2/$4/$6 WeCrochet Yarn Sale! 11/14/2023 Only. The crochet.com sale likely includes many of the same discounted items as the KnitPicks sale, but I will do my best to confirm. Don't forget that WeCrochet has a lower minimum for free shipping. There is a limit of $5/item/customer/website. In terms of bare yarn, Swish Roving was marked down to $4 on both KnitPicks and WeCrochet, but bare imagination was only available at KnitPicks.
$2/$4/$6 KnitPicks Yarn Sale! 11/14/2023 Only. This is a favorite deal, even if the categories are all $1 more expensive than last year's 1/3/5 sale! Update - there is a max of 5 per item per person. Make sure you check it out early because a lot of the steapest discounted yarns will go quickly. In recenty years they started limiting the number of discounted skeins each customer could order. I remember back in 2015 I successfully ordered discounted roving and then there wasn't the inventory to fulfill my order so that item was canceled and I was disappointed.
20% off Pattern Folios, 50% off WeCrochet Exclusive Print Books 11/11/23 - 11/12/23
KnitPicks - $12 Ball Winders and $40 Swift/Winder Sets. 11/11/2023 - 11/12/2023/ I use the KnitPicks ball winders and swifts. I got a new swift in one of the previous years, but I still haven't replaced my old one that I keep repairing with simple fixes.
30% off all WeCrochet Hooks 11/9/23 - 11/10/23. Prices are as marked, no coupon codes required.
30% off all KnitPicks needles & hooks excluding interchangable sets. 11/9/2023 - 11/10/2023. I have a lot of KnitPicks wooden needles and really like them. I adore the interchangable needles (it looks like individual interchangable tips are on sale, just not the bundle sets.)
Want to see how this Big Sale compares to previous years?


.png)


.png)


