Sunday, July 27, 2014

NEW Modeled Pics of Hermes Winged Baby Socks!

At around 6.5 months old, I was finally able to get a picture of a baby modeling my Hermes Winged Baby Socks.  This free Hermes baby booties knitting pattern is one of my favorite knitting designs.  Doesn't it look like he is about to levitate?


These wings I designed came out so cute, I think they would look great on a little baby beanie, too!  

Thursday, July 24, 2014

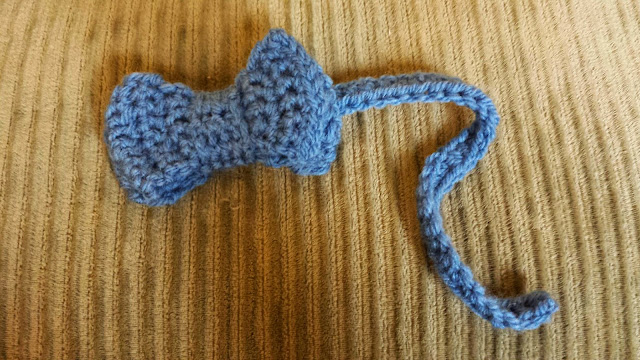
A Bowtie for a Lucky Boy

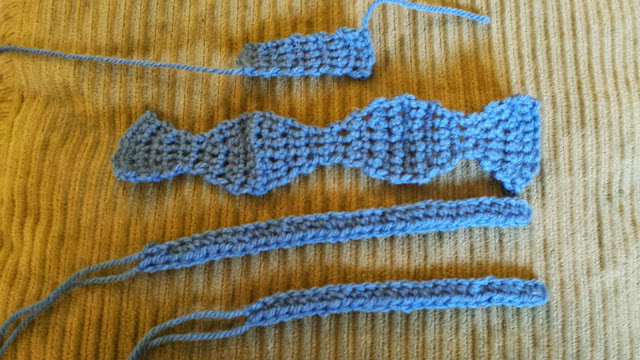
Another test run for the luckiest birthday of all (coming this October) - a bowtie for Lucky.   I used 12 g of a miscellaneous worsted weight blend with a size H (5.0 mm) crochet hook.


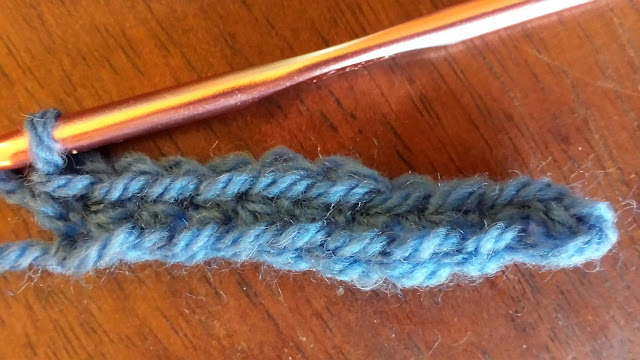
I think that for ONCE I made the starting chain loose enough.  After my first row of SC's it is almost difficult to tell which side is which.  (WAHOO!)


I was thinking about making Lucky's birthday set out of 100% acrylic so I could machine wash it, but on further consideration I might do wool so I can block easier.  Although now that I'm typing this, I remember that steam blocking wasn't so hard to do, so maybe acrylic is the right choice after all.


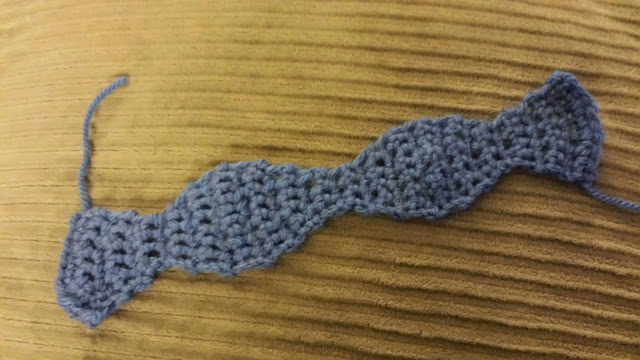
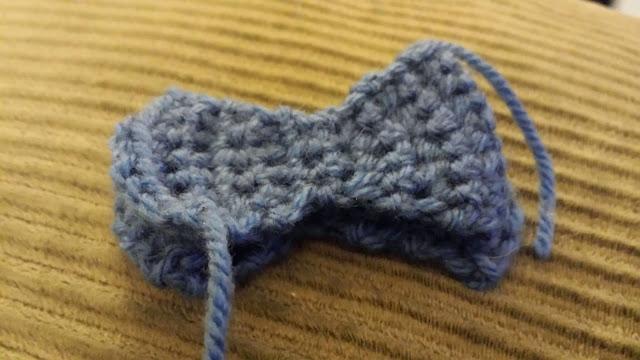
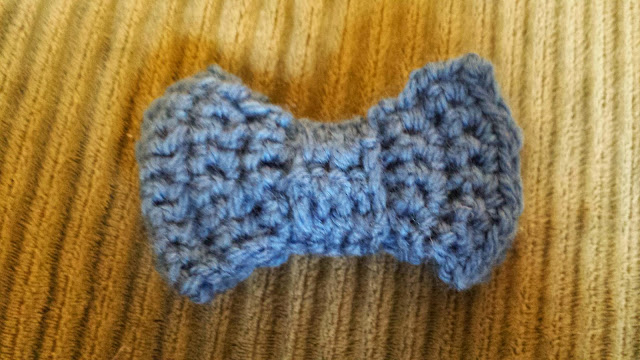
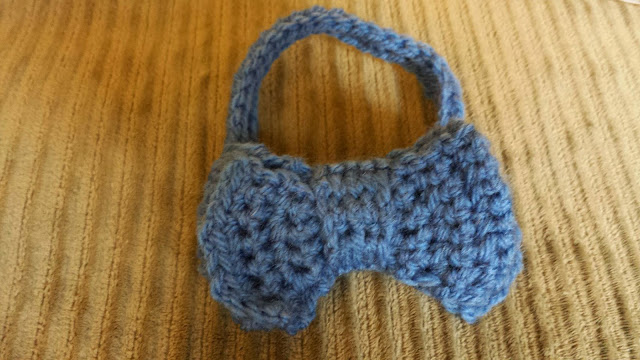
I'm really happy this bow tie is a triple layer.  I think it looks more polished and it will fit and wear better. Before folding, the bow tie measures approximately 9.5" long and is just over 2" wide at the widest point.   I easily whipped up the bow itself in a day.  I just had to finish up the band and tie the next morning.  


I wish the wrap was written in terms of # of rows.  (10 Sc rows for those that are interested.)  The wrap is a little long, but this will be easy enough to sew down in a way I'm happy.


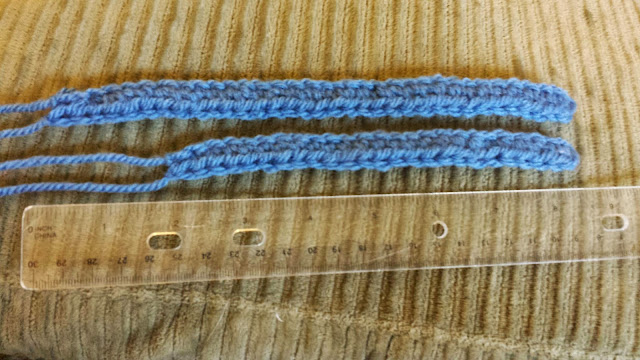
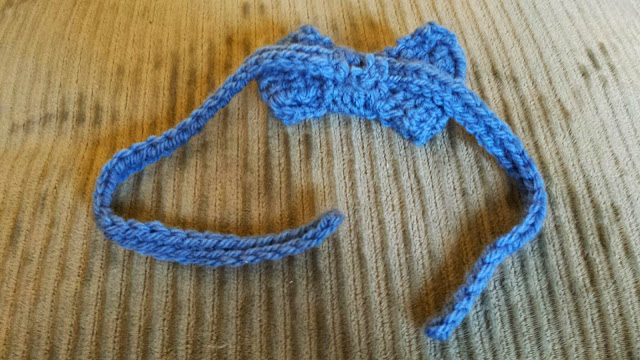
Unstretcched the neck band is 7".  This doesn't seem anywhere NEAR close enough to the right size. Neckband 2.0 add 9 hdc's (so start with a 35 st chain.)   Of course, I made this second neckband without having tried the first on Lucky, so for all I know it will be too small, too.  I just estimated based on the neckband of one of his shirts in the dirty laundry.


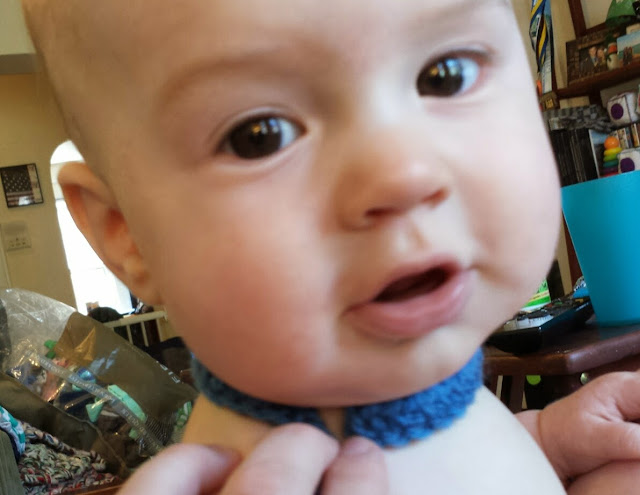
The first one technically fit, but I'm much more comfortable with the loose fit (no stretching required) of the modified one.  


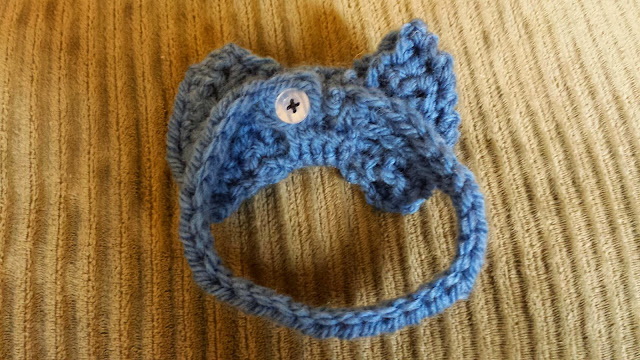
My button was too small.  the bowtie could be pulled off in a moment's notice (i.e. before I could even really take a picture).  I guess I"ll have to go ot the store to find some larger buttons.  Maybe a snap would work better, but then the neck wouldn't be adjustable.  (turns out, the smaller band would have worked fine.  This one had stretched out a bit by the time I was trying to put it on him.  


I removed the button and stitched the shorter short neck band to the other side of the bow.  Since this one is just a place holder, I can tie a knot in the back when putting it on Lucky.  If I like this enough, maybe I'd use this construction for the finished project.  (but with bands of equal size.)  


I'm planning on a chocolate cake with a bright blue icing.  What colors do you think would work well for his diaper set?  

Monday, July 21, 2014

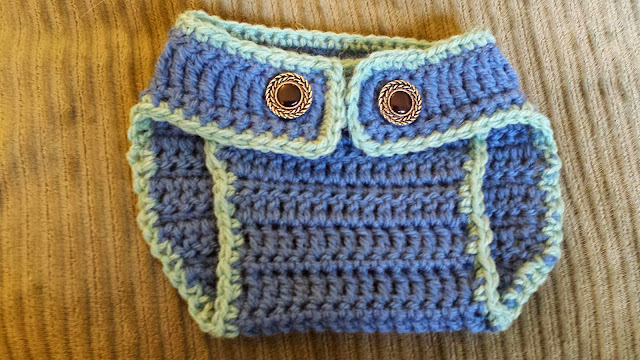
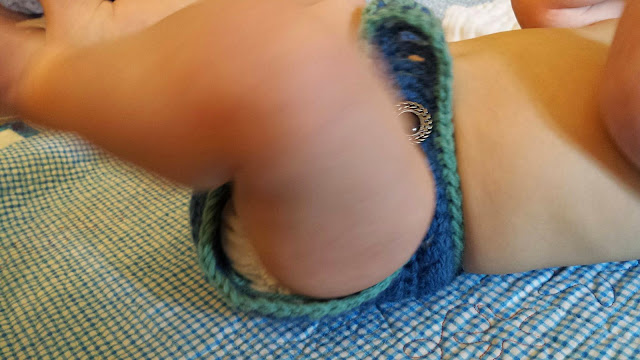
Crochet Diaper Cover

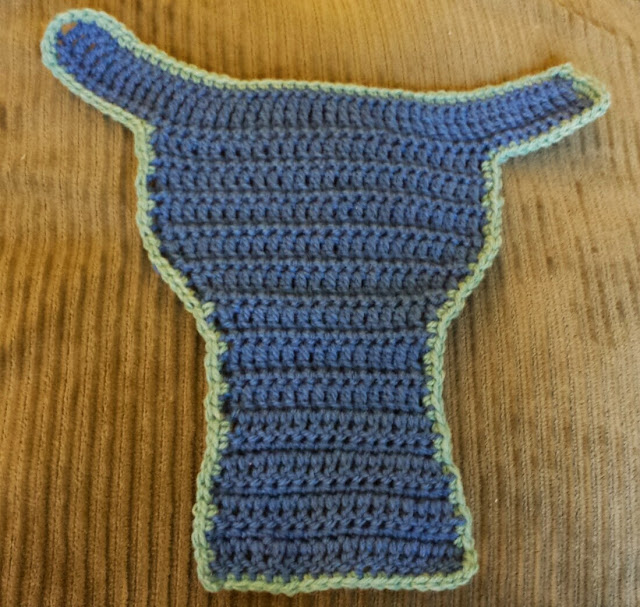
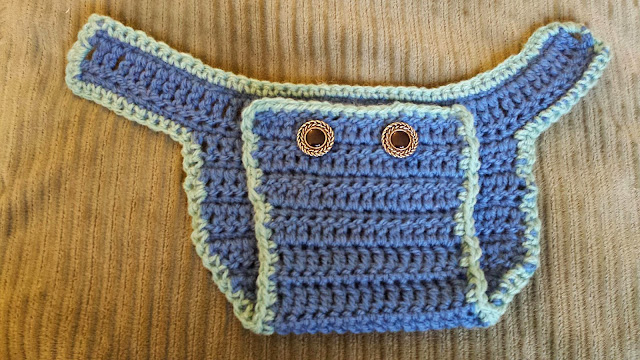
I can't believe my little Lucky boy is 9.5 months old!  As his first birthday approaches, I feel okay admitting that I have been preparing for his first birthday party for a while now.  I decided to do a test knit of a diaper cover to see what I thought about using it as his outfit for his cake smash while Lucky was 7 months old.  I found a great pattern plus some fun modifications that I used in the following project.


Most of my crocheting has been in the round.  I've done very little turning and going back and forth, so I was a little apprehensive before starting.  I used a 5.0 mm (H) hook and 24 g of worsted weight blue and 5 grams of green (for the sc border.)


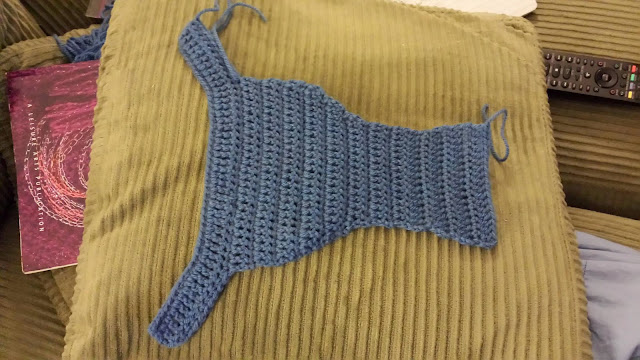
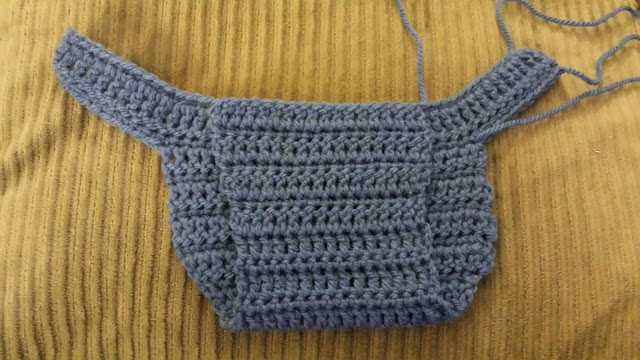
Notes from construction
  • chained 46 sts.  
  • chain 4 before doing the tr (trc?)  I'm assuming that Treble crochet is the same as triple crochet...
  • turn, ch1, for sc's.  I guess you ch2 for HDC and ch3 for DC's.  This is someting I need to remind myself. 
  • 11 sts over to attach yarn.  Ch3, DC1 in the same st, DC24 more.  10 sts remaining on other side.  Follow pattern as directed.   I made this slight change to make the two side edges even.  Otherwise there was an extra stitch on one side.  I'm never quite sure how to do this.  
  • 15 sts remain after row 14.  
  • I like symmetry, so on row 22 I increased on the first 2 and the last 2 stitches (17 sts total).  On row 23 I didn't increase at all.  


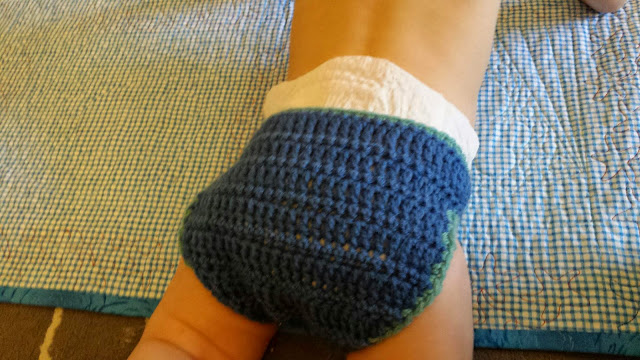
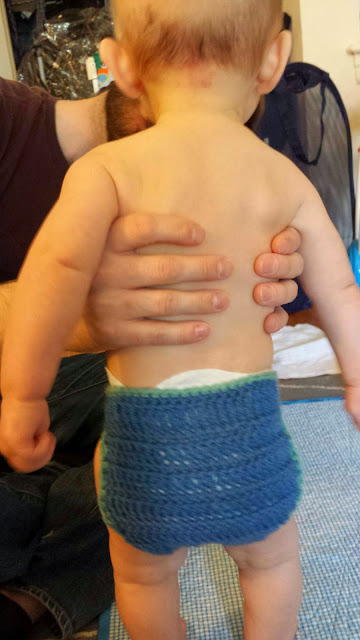
My 7 month old is a skinny guy.  He still wears size 2 diapers.  I like the way that these covers can be completely adjustable. 


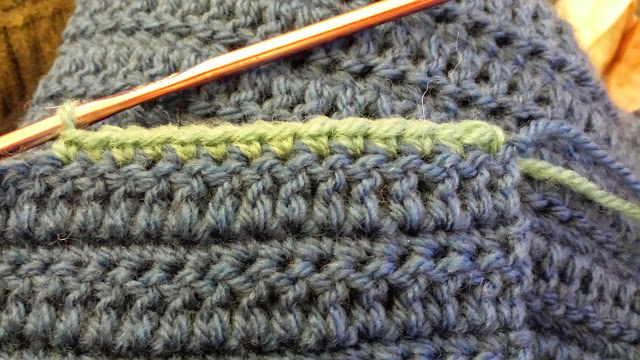
So I didn't know which side is the right side (RS), so I connected the opposite color where I fastened off, turning the work to continue the SC all around.  


Boy oh boy does it look cute! 


This diaper cover is a little short for Lucky.  In fact, I have to tug it way up to even "cover" the diaper at all.  I think that next time I will try making the band twice as high with 2 rounds of TC's and then use 4 buttons to close it.   I would also make fewer SC's along the sides to cinch the leg holes closed a bit to make that fit better.  


Suspenders would also help a lot, they would keep it from riding down.  I'll whip up a pair and then try it on him again.  I would also place the buttons closer to the outside of the front flap.  And for an occasion I suppose I can fold the tip of the diaper down...  I think I will also make the longer flaps 


Changes to do from the first time 
  • make straps the original size
  • after first DC increase row, increase each additional inc row.  
  • Single SC in each DC on the border around the entire thing.  
  •  have buttons a little further apart.  
Of course, all of these modifications will change when I see how my little boy grows.  It is nice to have one cover as a starting off point so when I'm ready to try this again close to 12 months old I can see how many rows/stitches I think I need to add.  This project when quickly enough that the adjustments shouldn't take too long, even if I end up making two different ones!  

One leg cinched for a better fit?

It turns out cinching the leg isn't really necessary if you make the waist tighter when you put it on the baby.  Making that tighter fixed the leg gaps.  I still will make the straps longer so that it could go over both buttons well next time.  I removed the cinching I did. (This is why slip knots are for winners.)


I ended up folding the straps back over the buttons so it looked a bit neater on Lucky (just over 7 months - not shown)  If I made the straps longer to begin with then I would have been able to put both over both buttons.  


I have many other crafts planned for Lucky's birthday party and not all of them are knitting related.  I will share some of the things that work great (plus some of my flops!)  Do you have any suggestions for a first birthday party?

Thursday, July 17, 2014

Baby Girl Flapper Hat

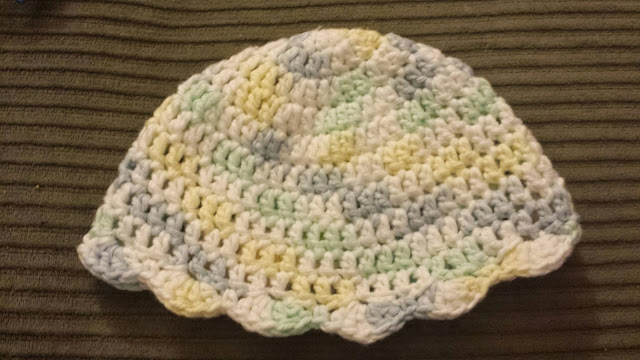
I know so many baby girls who have made their way into this world lately. When I saw the Baby Girl Flapper Hat crochet pattern, I knew that I wanted to try to make it for my SIL's new god-daughter.  I decided to make the 3-6 month size with an H hook since I would be meeting the baby in July when she would be around 3 months old.


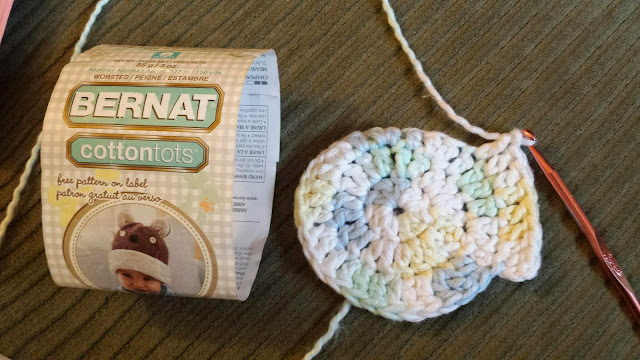
I pulled some Bernat CottonTots out of my stash in the color Wonder Dreams.  I don't have ribbon  on hand that would work... but I may have something thinner that I can double up.  Ooo I'll have to dig in my craft box to see.  Anyway, I was really excited by the pale shades of white, blue, yellow and green and thought it would be perfect for summer while matching many different outfits.  I got 8 DC"s into round 4 when the baby woke up from his nap.  This is going to be a nice and fast project.  Wahoo!  (There are only 11 rounds total.)


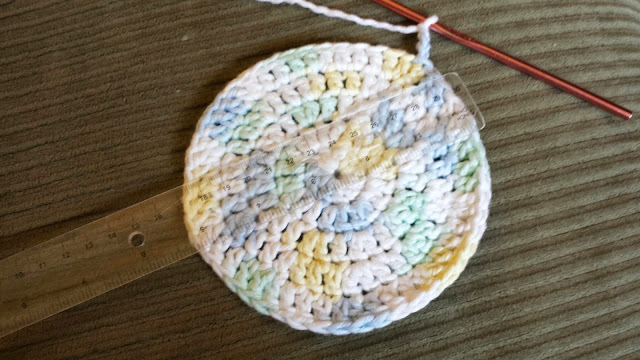
After 5 rows, the hat measures 5" across.  This means that by row 10, the depth of the hat will be 5 inches.  The projected circumference of the hat should be around 16", which would have fit my 3 month old, and this is without taking into account the existing stretch.  Wahoo!    


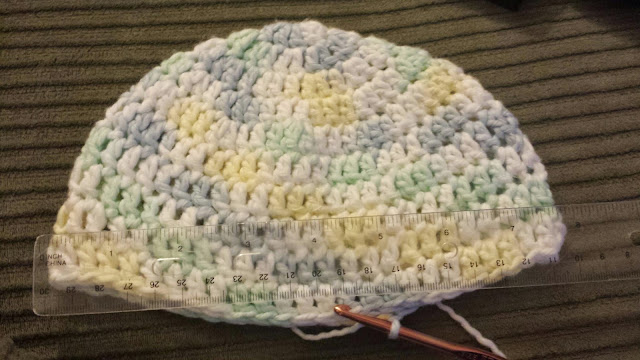
After row 10, the hat is 5 inches deep and about 16 inches around, just like my prediction.  It is nice when things work out like this, isn't it?  I briefly tried it on 7 month old Lucky (after row 9), and it fit around his head but it is definitely too short, but this isn't a hat that should go far down over the eyes, and he is a bit old for it anyway.  This reminds me, I forgot to take his 7 month measurements!  I must do that now.  

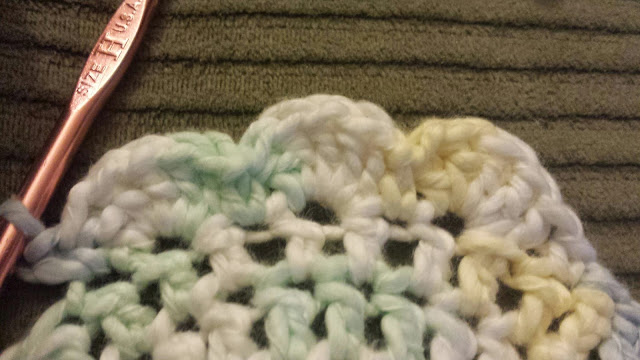
I completed the pattern as written.  If I wanted it for a slightly older baby, then I would add an extra round before doing the scalloped brim.  On round 11, I was confused when it said to "sk 1 st"  I thought this might mean skip a stitch, but that left a hole without a scallop.  I therefore deicded to SC 1 stitch in between the shells.  
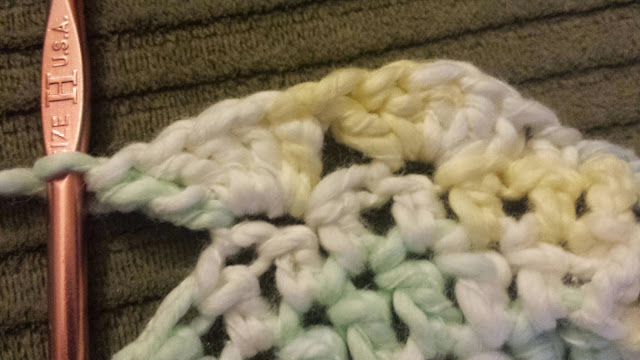
Take 1
Take 2

So now this is feeling rather crowded.  Maybe I'm supposed to sk1, sc 1, then sk 1.... OOOOOOOOOHHHH  (looking at the picture there are only like 13 scallops... so I think this is the correct way.)  
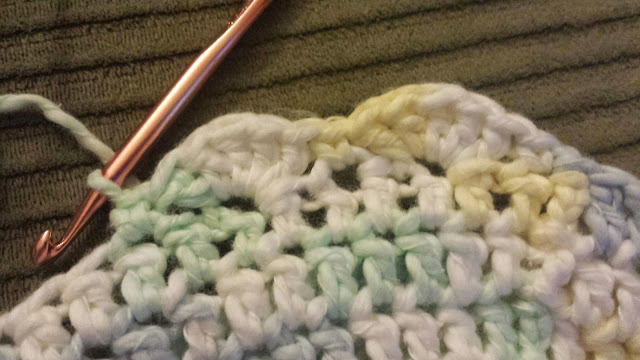
Take 3
See, I knew that I could figure it out in the end!  


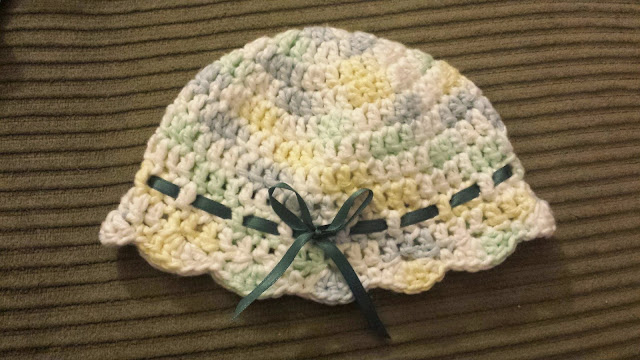
I maybe cut the ribbon (1/4" left over from the garters I made my bridesmaids) a little too short.  I should have let the bow me bigger so the mama could shorten it as needed.  I secured the clipped ends with a little bit of nail polish so they wouldn't unravel.  


This hat is too small for 7 month old Lucky, but as the little girl I'm making it for will be 3 months old in July, I think it will be a perfect fit (if not have plenty of room for her to grow into.)  Even with my scalloping difficulties this project went really fast.   I cannot wait to make one again!  

Sunday, July 13, 2014

Judy's Magic Cast On

Judy's Magic Cast On is truly a magical technique.  It is an easy way to start a project when you want one end to be grafted together, it looks kind of the reverse of the Kitchener stitch at the end of a project.  It has been a while since I finished any hexipuffs, but I took this video AGES ago and finally got the chance to edit it and upload it to YouTube.  Enjoy!

Friday, July 11, 2014

This is the way we wash our knits...

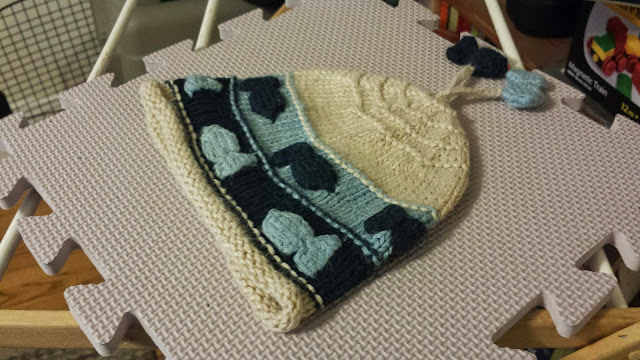
I normally wash my hand knit items by hand.  I'm afraid that they would get twisted too far out of shape in the washing machine, and I like having the control of something that took me hours to create.  However, after machine washing a hand dyed swatch I decided that it was time to take the plunge and machine wash a hand knit hat.

Plus the hat really needed washing.  Lucky wears this hat ALL THE TIME.


I machine washed the hat on cold, and then was going to let it dry flat so I could re-block if necessary.  The rolled brim had straightened out, but this was easily fixed on the blocking board.  


I'm so relieved!  It is silly for me to pick machine washable fibers for projects when I don't actually machine wash the items, but here we go.  I washed one hat, and now I can machine wash more of Lucky's knit items. 


I can't let you go without a few more pictures of 6.5 month Lucky wearing his favorite hat.  It is just about too big for him.  Now that it is summer time he isn't wearing hats out and about, so I'd better start planning his fall/winter head wear!  


Monday, July 7, 2014

Gridiron Hat

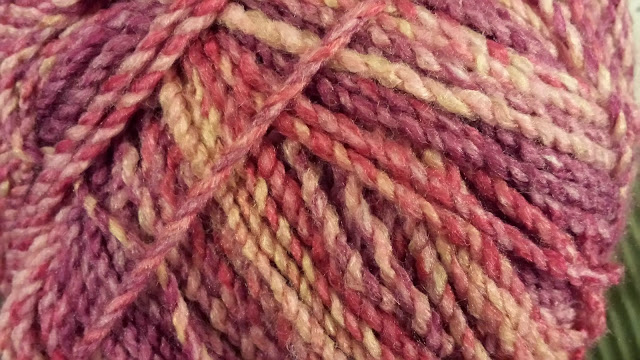
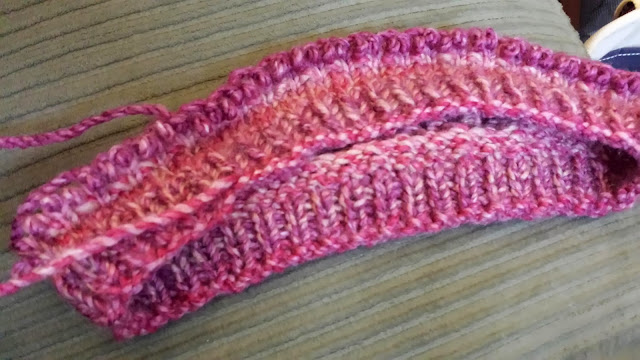
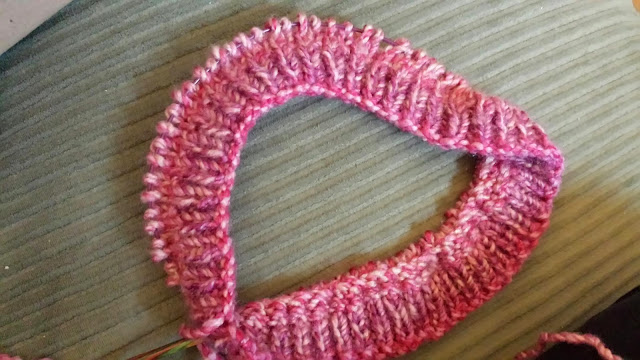
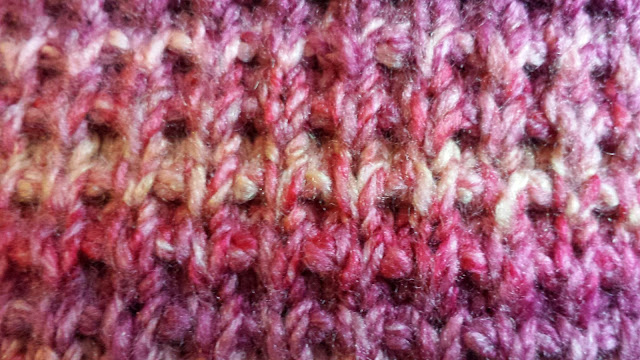
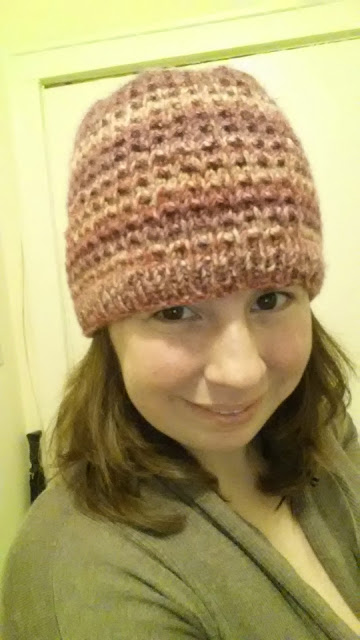
Laura had requested a warm hat.  When I saw the Gridiron Hat (pdf) pattern I knew that it would fit the bill for a warm, cozy winter hat.  And I was able to finish it just in time for her 30th birthday!  Laura loves pink, so I selected the fun James C. Brett Marble Chunky in shades of pink.  I decided to cast on 90 sts because I'm using smaller needles (US size 7)  for a slightly denser hat.  All stitches slipped with yarn in back. 


Mommy brain is a real thing.  I started this project at the first crochet  club I'd been to since Lucky was born, and boy did I have some trouble getting started.  I must have counted my stitches 10 times, but I could excuse this by chatting with my friends.  What I cannot excuse is that it took me 4 tries to start knitting in the round!  I had stitches twisted, I went the wrong direction... I just couldn't get it together.  I blame the baby.  


Once I had cast on, the project was all smooth sailing.  Or so I thought.  How did I miss that the first stitch in rows 3-4 were always supposed to be slipped?  I accdientally did p1, s1 for my first row 4... which does not give the correct pattern.  *sigh*  I frogged back to the first row 3.  The yarn is a bit splitty, but I was able to recover the majority of my work okay.  Now let's see if I can follow directions for the rest of this project!   


The yarn is beatuful and the final product is super soft, but it isn't my favorite to knit with.  It is a bit sticky and splitty at the same time, making it slow to work with.  Thankfuly the warm hat is lovely and will be super warm. I wish that these stunning colorways were made out of wool, then there would be some more elasticity to the yarn and it would be easier to knit wiht.  


After 14 pattern repeats my hat measures 7".  I then began the decreases as written.  72 g (123 yards) were consumed for this project. I think that this is the perfect hat for the sub zero winter we went through last year.  The hat is so cozy and soft!