Tuesday, December 30, 2014

Chevron Fish Birthday Banner - FREE PRINTABLE!

I'm so happy that everyone loved Lucky's First Birthday Party!  Some people have asked about the banner that we created for the party, so I wanted to share a bit about our Happy Birthday Banner.  Plus, guess what!  We are going to share a PDF of this fish themed birthday banner so you can create your own chevron fishy banner for a birthday party.


Here on ChemKnits I like to share the process of the craft I am doing, especially when it is something that I designed.  We went through multiple iterations and tests for this banner.  We started with an ombre chevron we found online and then redrew it in colors that we wanted.


The first test had two letters to a sheet, but when we tried these out on the wall they just looked too small.  We ended up using letters that filled an entire sheet of paper.  
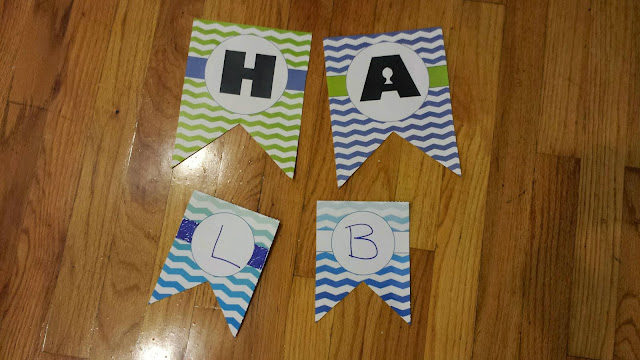
150% increase in size
There was a reasonable amount of cutting to do after pages were printed, but I think the banner is really special and perfect for our under the sea themed birthday party.  


We downloaded multiple water themed fonts to make this banner.  In the end, we settled on a font called Findet Nemo in size 350. The font was a free download and is a really simple fish theme with bold block letters.  We didn't want the font to overwhelm the banner, but wanted something that would subtly be on theme.  

Fonts include Findet Nemo, Mother Whale, Touch of Nature, PWBubbles, LMS Coral Cold, and Faltura Animals

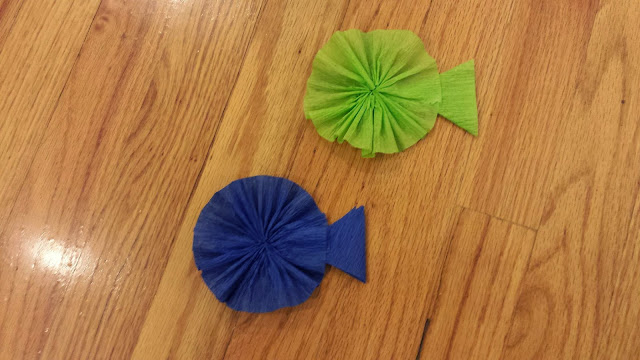
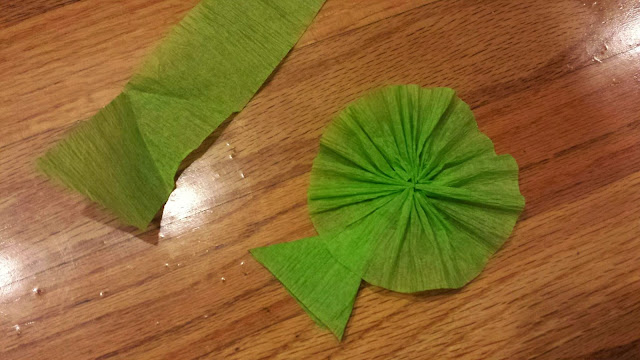
I secured the banner to the wall with little crepe paper rosette fish.  (Well I, secured them with tape, but I covered the tape with the fish so it looks like that's how it is secured.)   I turned these into fish by making little crepe paper triangle and taping that to the back of the fish.  


I secured the triangle to the back of the rosette to make them look like mini fish.  

What can you do with the extra chevron paper you get after printing out your banner?  I cut them into tiny fish that I used elsewhere in the party decor.  


Once again, here is the link to the Fish Chevron Happy Birthday PDF! (PDF available through Google Drive.)  You have all the sheets to spell "HAPPY BIRTHDAY!" plus some blank bubbles so you can add your own name to the mix.  I have included the link to the font we used previously in this post and the font size so you can print your own letters to spell a name, or else you can hand write in the name.  Enjoy!  

A preview of the pages you will get in the Fish Chevron Happy Birthday PDF

I hope that this free fish chevron birthday banner will be helpful for your party.  Let me know what you think in the comments.  

Friday, December 26, 2014

No Sew Baby Necktie

What on earth am I supposed to do with all of the fabric left over form my no-sew pillows?  Since I'm not a sewer, there isn't a ton of use for me to hold on to it for a random project, so I may as well try to come up with something for it.  I found a really cool pattern for sewing a baby necktie and knew that I had a winner.  I still don't have access to a sewing machine, so I will be using my fabric glue (Dritz Unique Stitch Adhesive) for this project. Wish me luck!


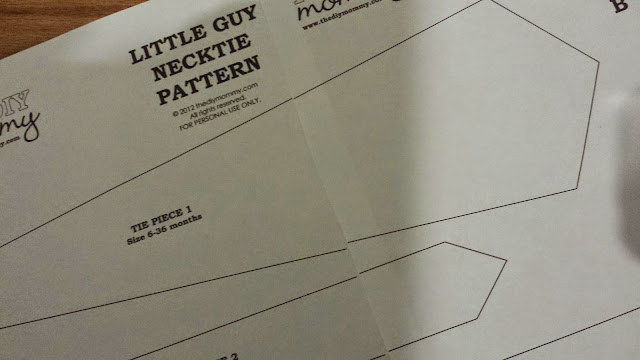
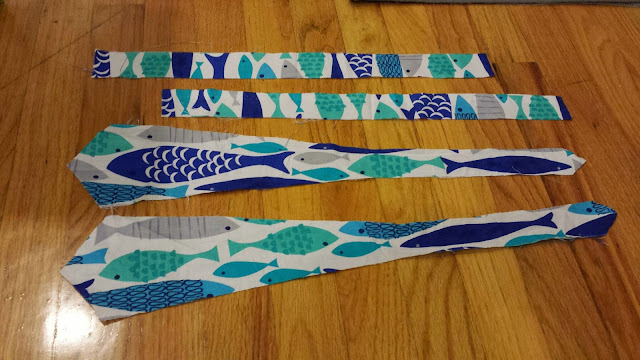
So when I printed the pattern pieces, the big tie piece didn't line up exactly.  This isn't a big deal, I can shorten the tie and then line the other two pieces up exactly.  Tie Piece 2 and Tie Strap lined up with the correct widths, so it wasn't a printing error.  I'd be more nervous about this project, but since I'm using remnant fabrics if it turns out poorly it is not the end of the world.


I think my fabric is long enough that I stitched tie piece 1 to tie piece 2 and cut one piece.  This eliminated the seam in the middle of the tie and worry how the glue would hold up there.


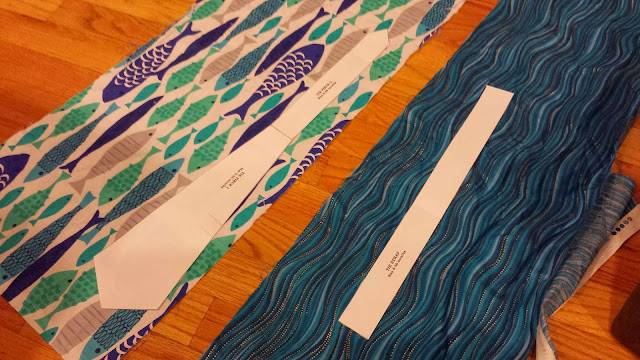
So I said I wasn't afraid... but now that it is time I'm afraid to cut!!  I ended up frog taping the pattern to the fabric and then cutting around that.  I spent a lot of time positioning the tie so I could get a fish in the middle of the fat part.  I centered a big fish in the middle of one side and then did smaller fish on the other side of the tie portion.  After gluing these together I can decide which one I like more before tying the tie.


I wish the neck piece was longer.  I compared it to a tie that I had for Lucky already and decided to make the next pieces a bit longer.


I really could hand stitch this tie, it might be easier to get the 1/4" seams that I need if I did that.  However, I really want to try to use the glue.  It will be MUCH faster and let's be honest, it isn't like Lucky will be wearing these ties a lot.


Turning the pieces right side out was the hardest part.  I think this would have been just as difficult if I had used thread as it is now with the glue (which is amazingly flexible when dry by the way.)  I needed a chopstick to help get the points Pressing is absolutely required.


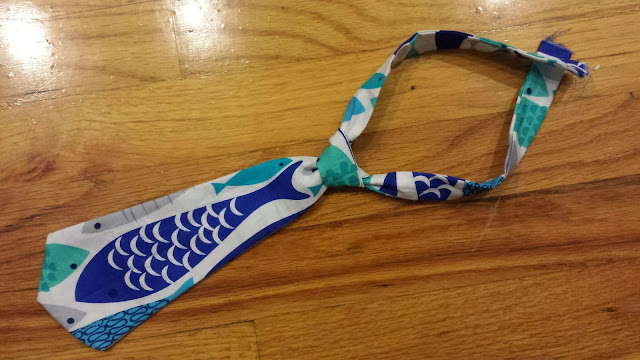
Pressing was easy and the look great!  I'm considering making a second fish tie with the fish swimming sideways rather tan up or down, I like the way the pattern looks on the neckband.


I tied it up and Oh My does it look awesome!  I think I need to make more of these STAT.  I turned the points on the back of the tie inside out and stuck that with some glue to "hem" it.  I figure no one will see the point anyway so it is okay if that detail is lost.  I need to get to a craft store to buy some velcro to finish off the neckband, but for now I think I can try it on Lucky with a safety pin.


Oh my I love this custom tie on my little boy!  As soon as I had finished the tie I started looking up fabrics on fabric.com to see what I could get to make more ties.  After a deep breath I did not buy any fabric, but I am so excited that I can see endless possibilities.  I really need a sewing machine...


Sunday, December 21, 2014

Vogue Knitting Live Chicago! A Summary

I did SO MUCH at Vogue Knitting Live, Chicago 2014 at the end of October.  I took three classes from 3 different amazing designers (Anna Hrachovec, Norah Gaughan and Susan B. Anderson), and I've already shared those experiences with you.  What I haven't shared with you yet is what else happened at the conference.

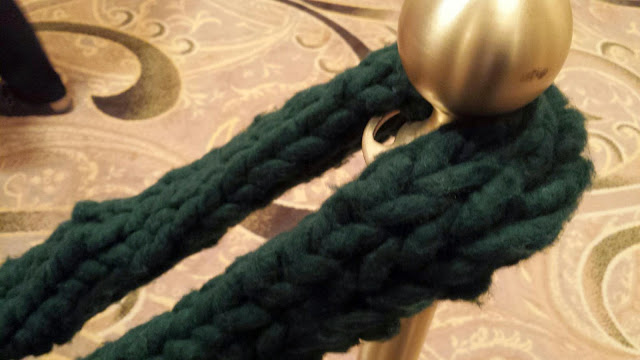
The stanchions for sign in were ropes of HUGE yarn.  I wish I had put something in there for scale but it was almost like these were knit with roving.  


"Where does your stash live?" is a really cute way to ask where the attendants are from.  My pin is the red one at an angle.  


In the expo there was an entire exhibit of knit pumpkins!  If you're a long time reader you may have noticed that I've knit a lot of pumpkins myself over the years, but this is quite an impressive patch.


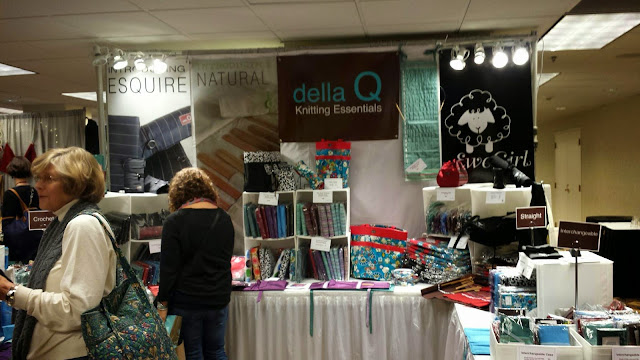
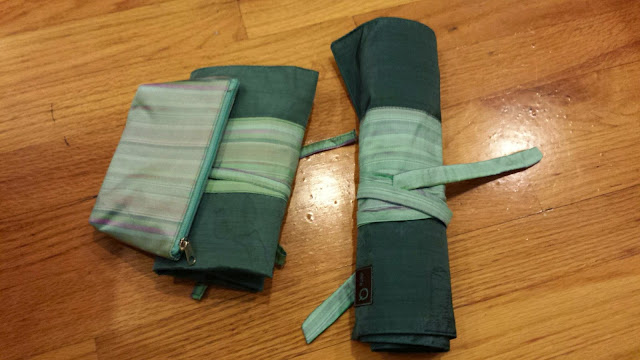
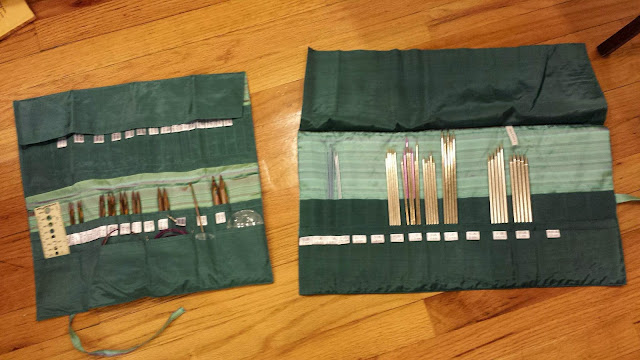
I was very well behaved in the expo and did not buy any yarn.  I did visit the Della Q booth and picked up some silk cases for my double pointed needles and my interchangeable circular sets.  All of the cases have size lables printed in them which means I am no longer struggling to hang onto the original packaging for my needles!  (Unfortunately I have already spilled Coke Zero on the cases so my perfect silk is a little stained.  Hopefully I can figure out a way to spot clean them.  But they are still working great to organize my tools.)  

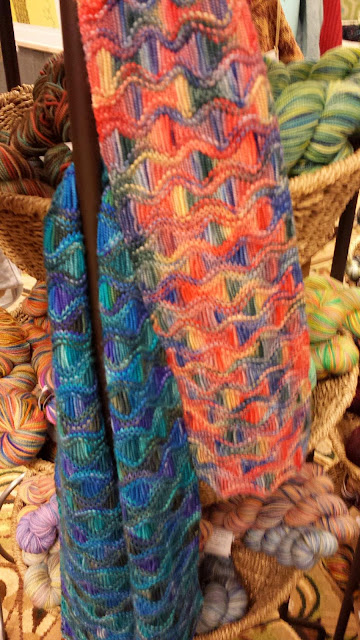
I saw these scarves in a booth and thought that the drop stitch pattern was beautiful in a variegated yarn.  I may need to make myself a new drop stitch scarf with some of my hand dyed yarn!


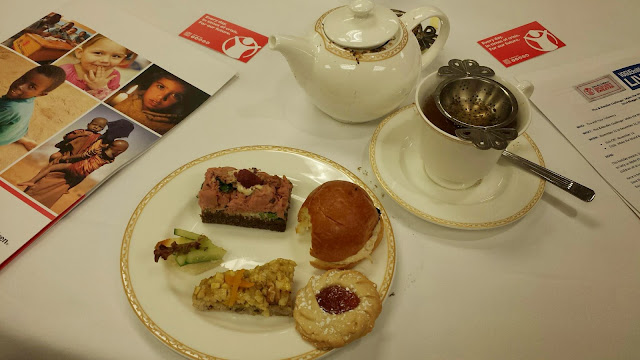
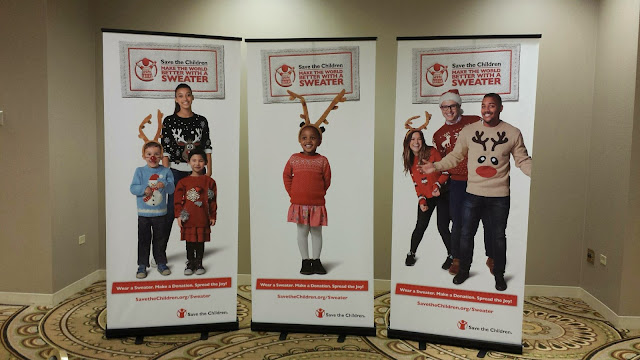
Vogue Knitting Live is where I connected with Save the Children.  They invited me to tea through twitter and I am SO HAPPY that I checked my account while I was at the conference.  It was amazing to meet people who worked for the organization and I am so excited to have been part of Make the World Better with a Sweater Day.

I love tea!

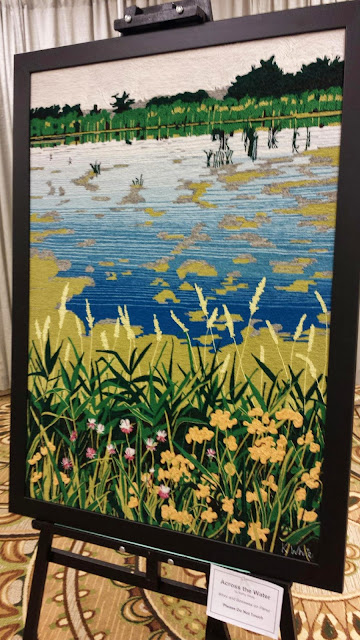
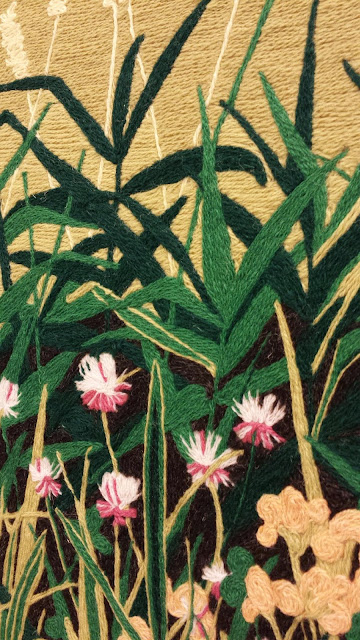
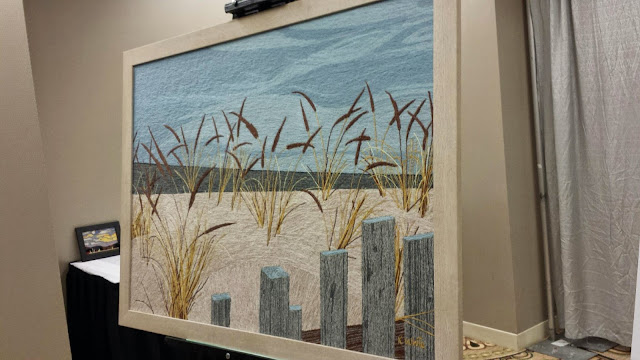
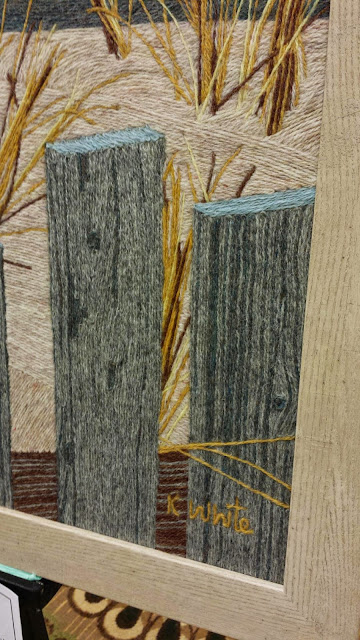
I don't own much fine art, but I saw one of the most impressive works of fiber art I've ever seen.   Kathy White is an artist who has made "paintings" that are constructed out of yarn that has been pressed into a canvas of bees wax.  I am amazed with the detail and definition the artist has been able to achieve with the direction and color of yarn.  There are also some smaller pieces, but I hope that Keith will love them as much as I do and maybe we'll be able to purchase something for our home someday.  (Pictures shared with permission of the artist.)  


Finally, one of my favorite parts of Vogue Knitting Live is the chance to chat with other knitters and fiber enthusiasts. I met designers of HUGE installations, small trinkets and got to try out a bunch of new tools.  I came home with a fistful of business cards that I hope to look up to find the products that had really excited me.  I don't know where we will be living next year, but I hope that I'm still close to knitting conferences!
Wednesday, December 17, 2014

More No Sew Pillows


In September I finally got around to finishing up the last 4 now sew pillows.  Lucky's chair is going to arrive for his nursery next week, so this is the optimal time for me to finish his fish pillow and finish my pillows for our living room sofa.  I selected a fun whimsical dandelion fabric with Keith because he creates the most amazing dandelion stories for Lucky.  We paired it with a bold graphic pattern.


Rather than drive myself crazy with the cutting this time, I used a colored pencil (serioulsy, I could not find a normal #2 pencil in the whole apartment!)  and used the pieces I had remaining from the last pillow project as a pattern piece to draw lines on the new fabric.


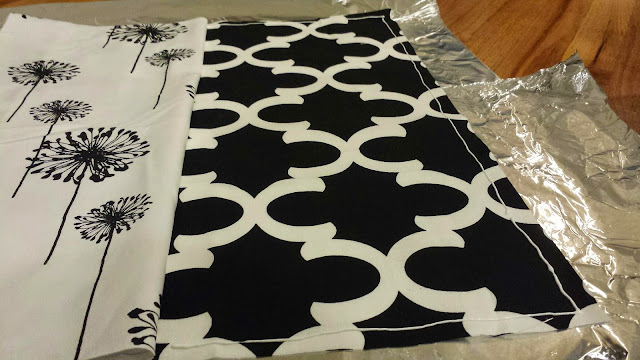
I'm thrilled with the bold black and white fabrics we selected for the living room.  This is a thicker fabric, and should hold up well to every day where.  I love the dandelion print, it is subtle yet still whimsical.  When I started cutting pieces I wasn't sure if I wanted to do the mix and match backs like I did in Lucky's room or if I wanted them to be the same on the front and back.  This fabric is 56" wide, so I can fit one pillow across the length of the fabric.  I knew that 1.5 yards of each color would be PLENTY for all the pillows I wanted to make.  I might even be able to have an extra sham!  (Hmmm... maybe this is a good idea to do with a baby around...)


After cutting out the pieces for the fish pillow, I cut out enough pieces for 4 pillows.  I can decide if I want to stick with one pattern for each or swap the front and backs later.  (What else will I do with the fabric?  I may as well cut it when I'm in cutting mode!)  Before gluing the squares, I needed to iron the fabric.  I know that I will not be ironing them much in the future, but I at least want them to look good the first time I put them on the couch.

Two patterns per cover versus 1 pattern per cover.  If I do a single pattern it would be easier to swap out a new pattern for my decor at a later date.  If I mix and match the patterns like I did in Lucky's bedroom, then it would be harder to swap out another design if I wanted to later.  Decisions, decisions!


The glue (Dritz Unique Stitch Adhesive) was a little harder to squeeze out this time around.  I had to use a pin to open up the hole.  I have no idea if I will have enough glue to finish all 4 (+1) pillow covers.  During nap time I "hemmed" 6 of the 10 pieces.  I want to make sure to finish the fish pillow as I don't want to be stuck waiting for Monday for more glue to arrive if I run out.  One tube of Dritz Unique Stitch Adhesive was enough for 4 complete shams plus the hems for 6 other pieces.  I maybe could have finished one pillow but since I miss glued a pillow that sort of altered things a bit.

So the new glue arrived and OH MY what a difference this makes!  I think that the first tube of glue I got was defective, because it was a little hard to squeeze out of the tube.  This was MUCH worse when I was making the rest of the pillows weeks after the original two.  What a difference this made.  WOW.  This made finishing up the final 3 pillow covers go SUPER quickly.


I didn't brother pressing the shams once they were turned right side out, but I could if I wanted to get neater corners.   I was just so excited to put them on the pillows.


This project was so much fun that I'm really tempted to try to make some more now-sew shams for other holidays.  I have to be careful, or I will start acquiring quite the fabric stash.  I don't have space to store more craft things!  Good thing I have some fun creative things planned to use up my remnants from these pillows.